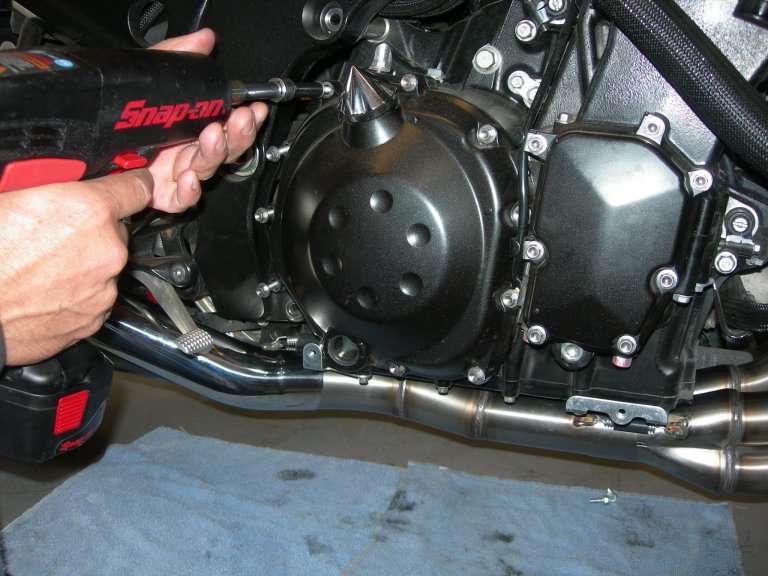
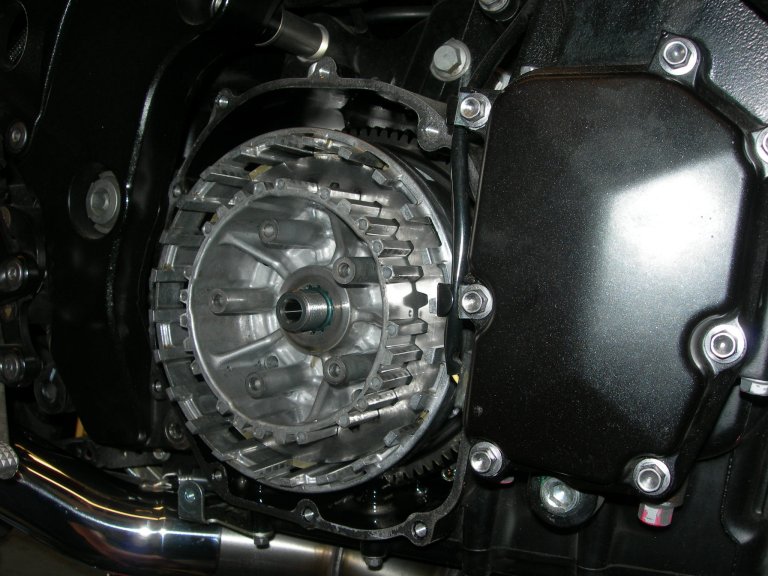
 Remove clutch cover. Only a few drops of oil will come out. |
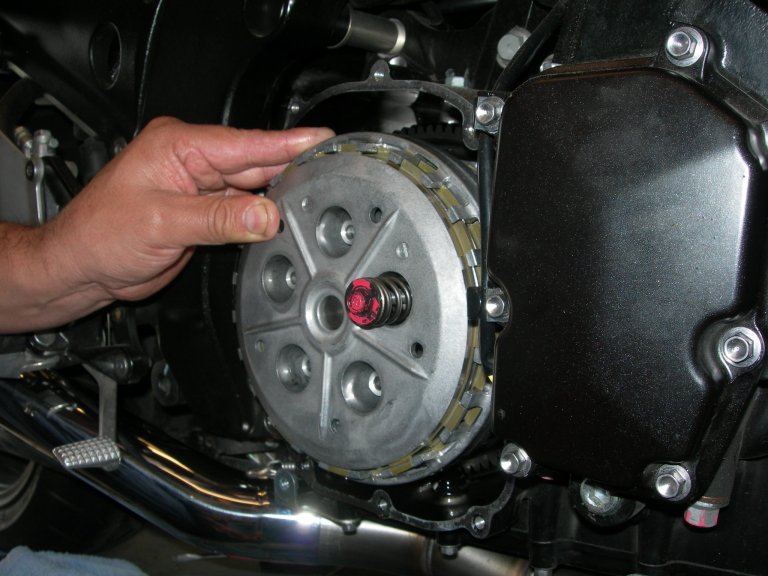
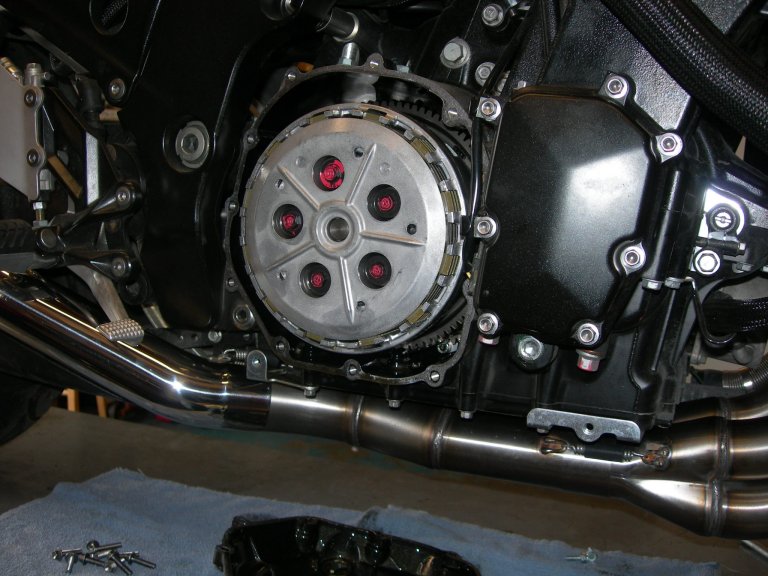 Now, you can see the outer clutch plate, with the 5 clutch spring mounting screws (pink, today) |
 Remove the clutch spring bolts. |
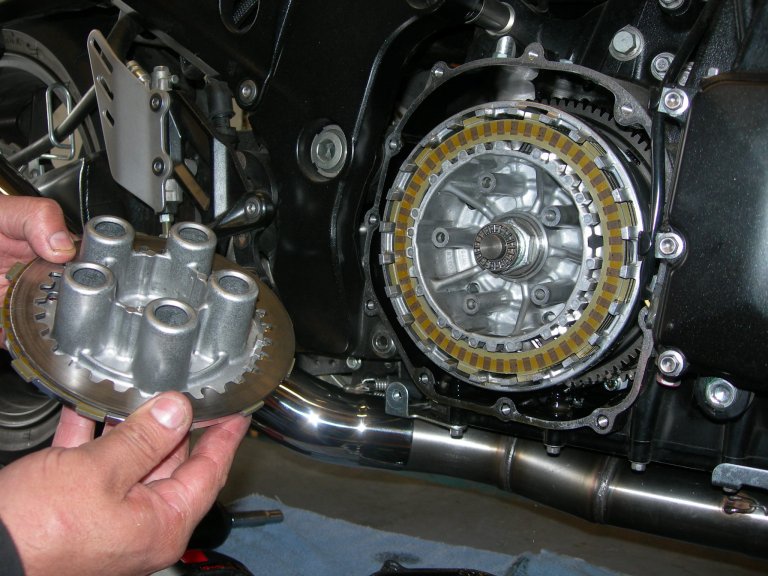 After removing the 5 clutch spring screws, gently pull away the outer plate. Some clutch plates will probably stick to the outer, but that's ok. |
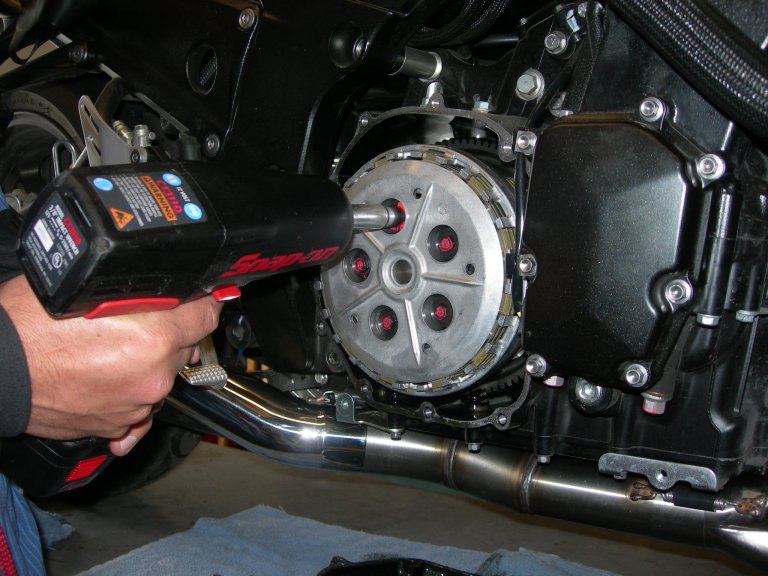
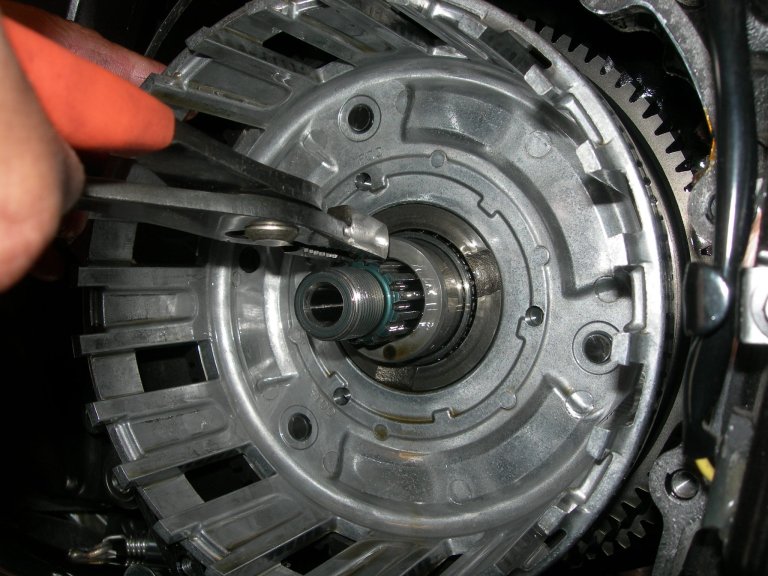
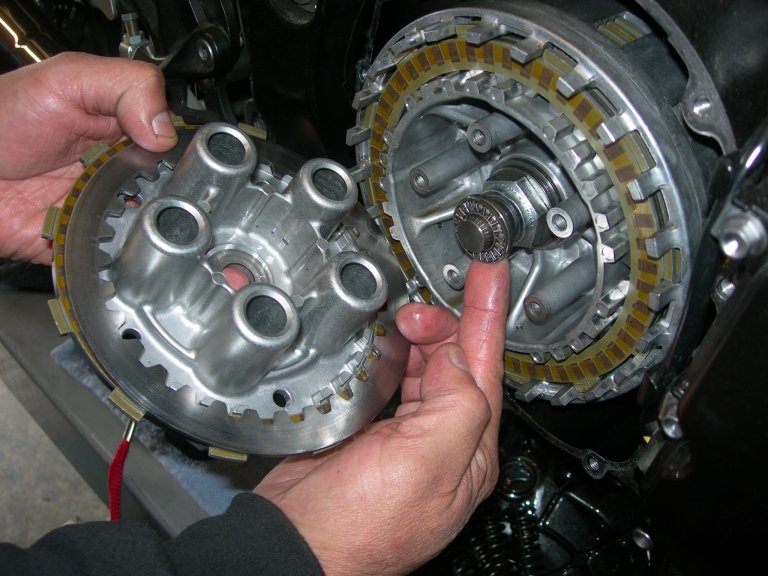 This is a radial "Torrington" bearing on the "mushroom" shaped "clutch throwout button. Note: There is a "thrust" washer still stuck on the inside of the outer clutch plate. Remove the 27mm or 30mm nut from the clutch shaft. Use a 1/2" air or electric impact wrench. Remove the "Bellview" washer and flat plate washer and the rest of the clutch plates (fiber and steel). |
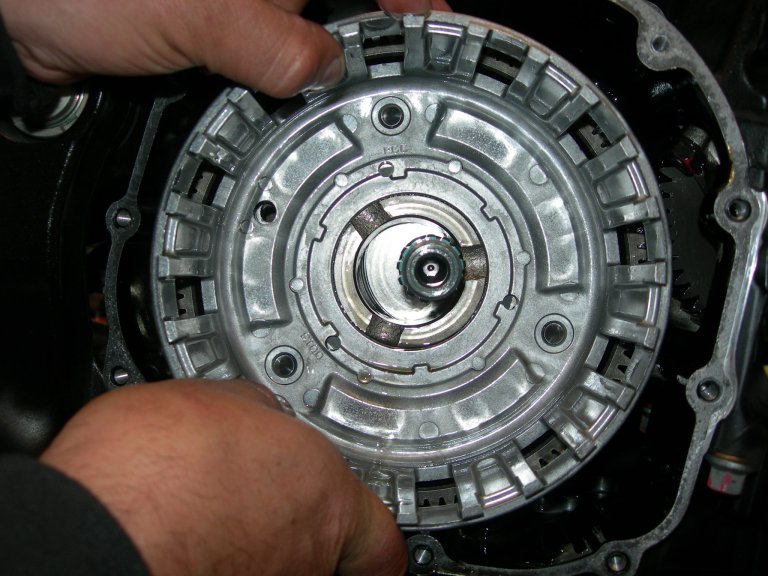
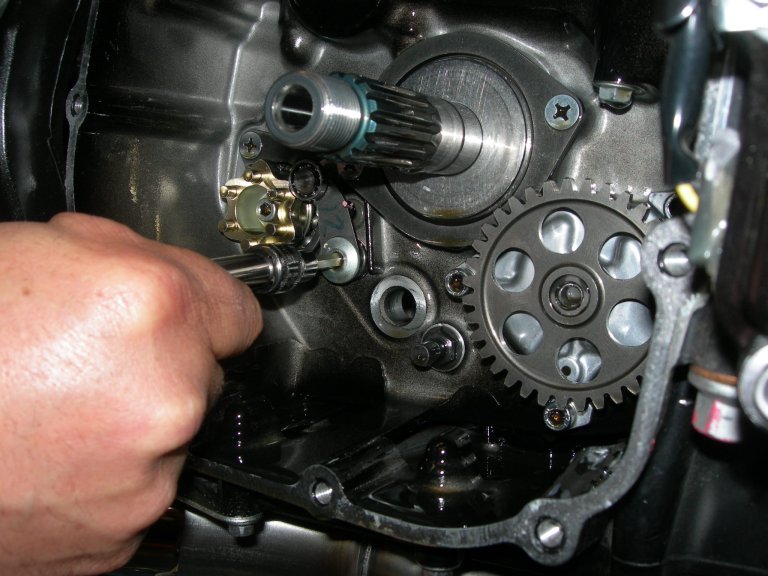
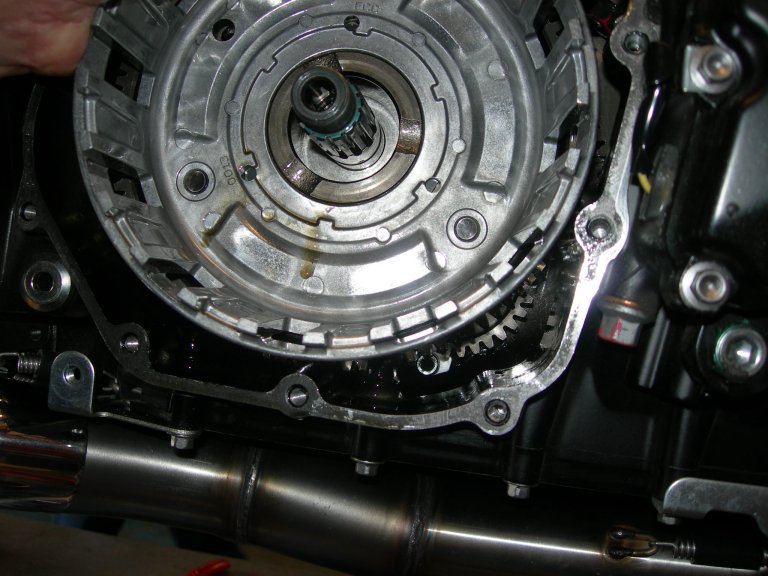
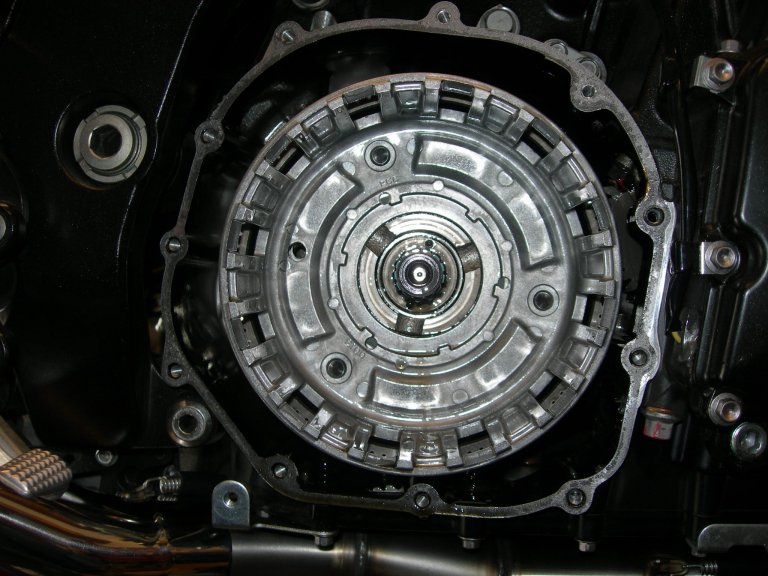 Here's a view of the clutch basket. Hmmm...... just pull it out... Hey! It hits the cases and I can't!! |
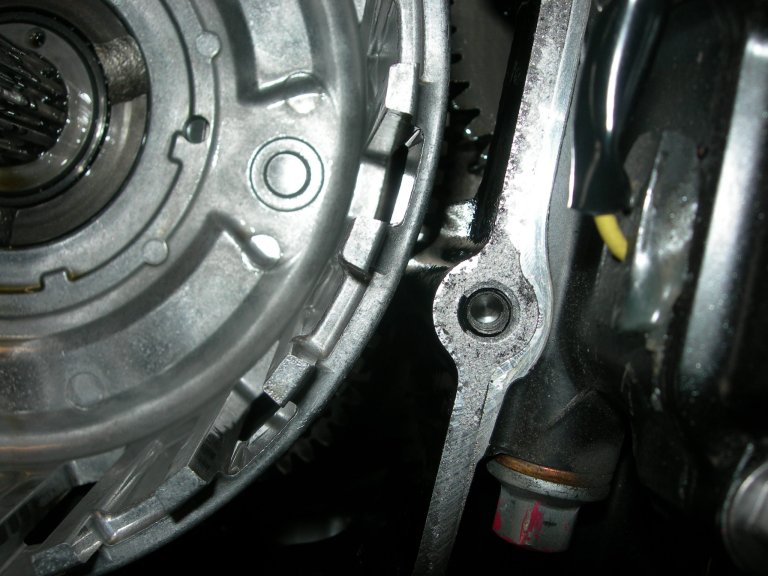 Here's where it hits - just below this screw hole. |
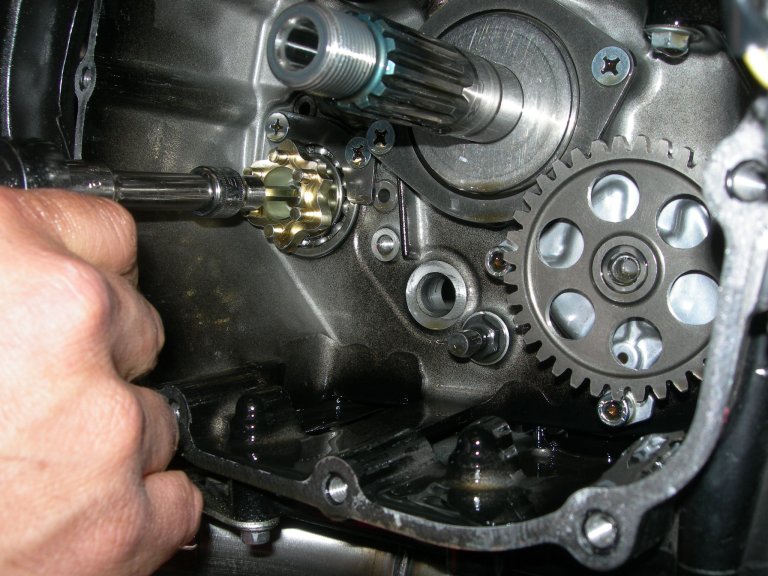
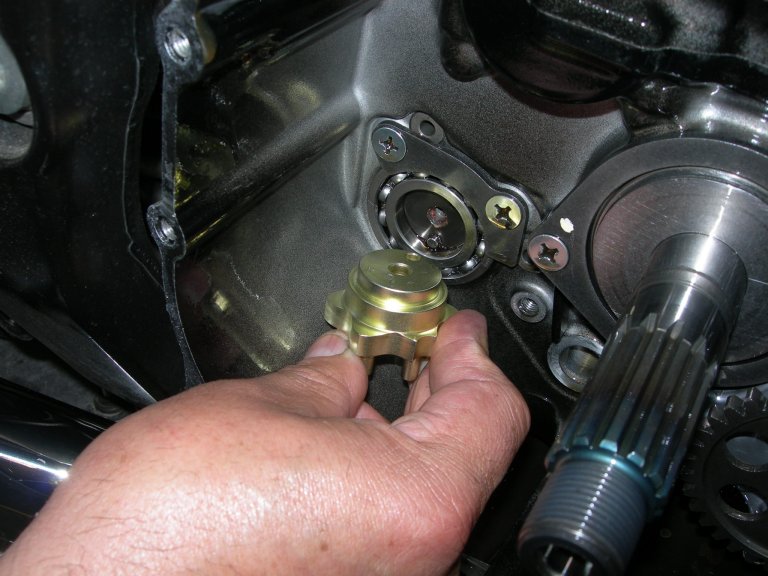
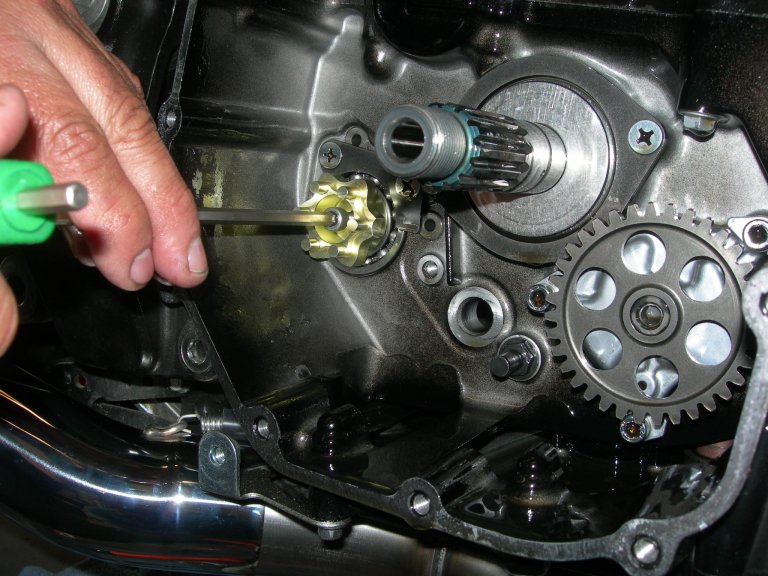
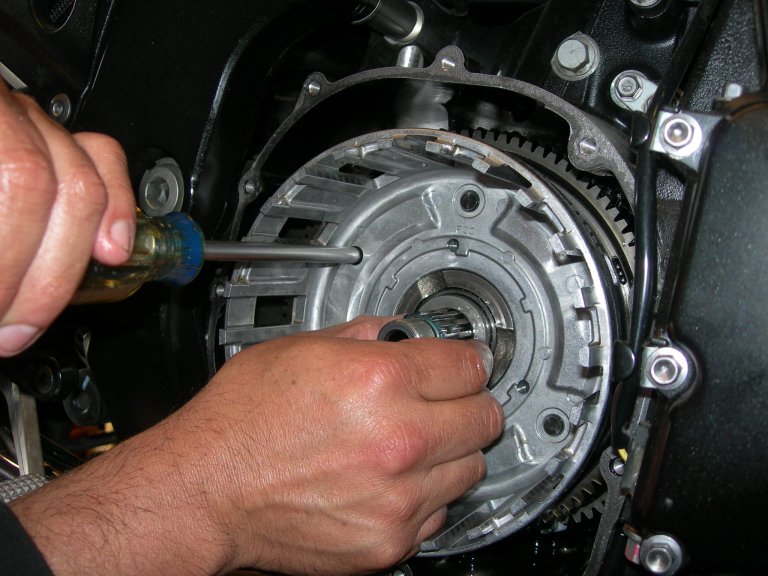
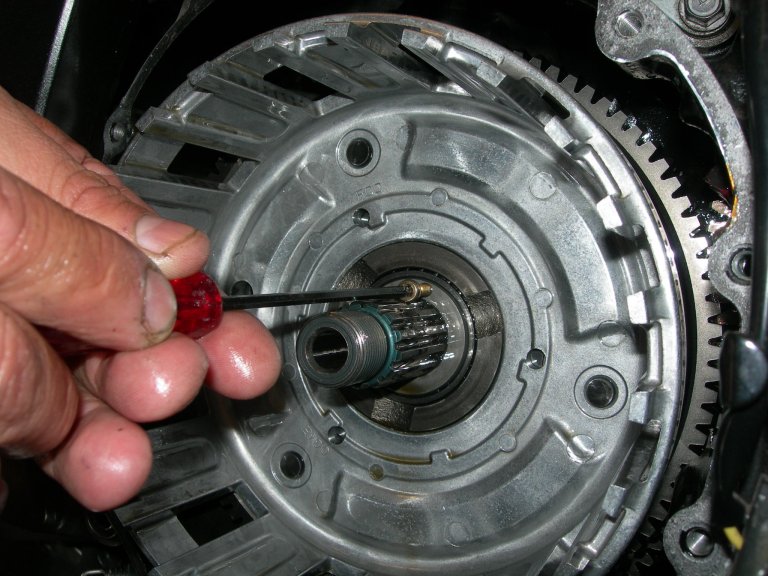 Trick: Insert a 4mm screw into this clutch collar - leave the head exposed. |
 Now, grab the head of the screw and pull the collar out - Then, gently remove the bearing, too. |
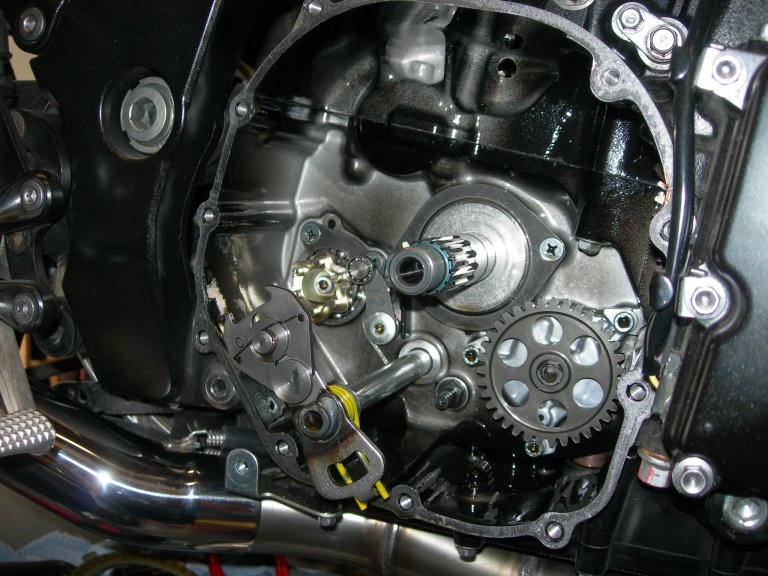
 Now you have enough space to move the clutch basket to the left and that makes enough room for the big primary gear to clear the engine case. |
 Success! Plenty of room to work with. LAY A SHOP RAG AT THE BOTTOM OF THE AREA to prevent screws,
arms, collars from falling into the crankcase. Now - go to the left side of the bike....... |
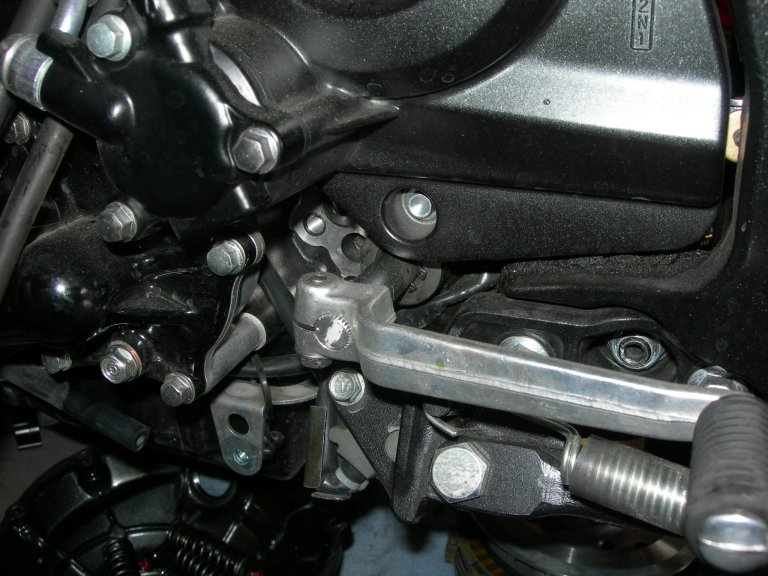
Now, remove the 10mm headed bolt from the shift lever Then - With circlip pliers, remove the shift shaft retaining circlip and plate washer and don't loose them. |
 Slide the shift shaft out. |
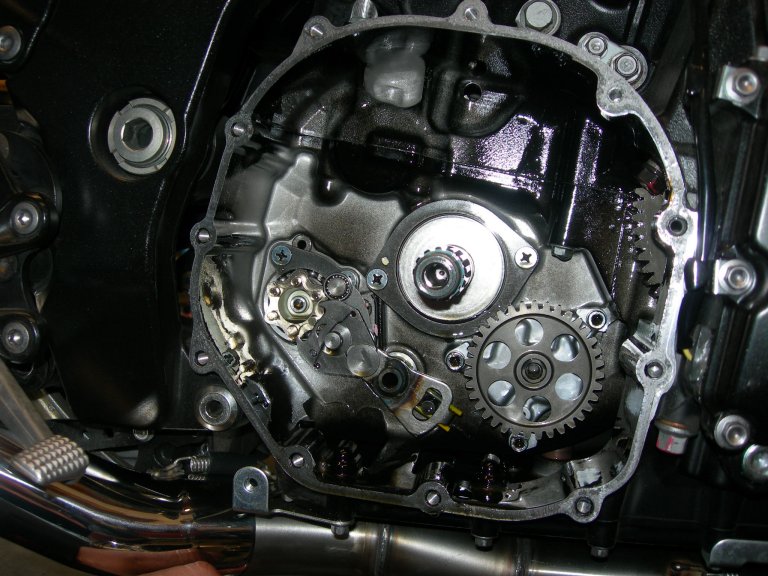
 Remove the detent arm pivot bolt. (this bike had a Shift STAR kit previously installed, so we will just pretend that we are removing the stock grey shift star and "non-bearinged" detent arm....) |
 Here's the detent arm removed. The stock shift spring probably has pink paint on it. |
 Remove the stock grey star. Use a 5mm allen wrench. |
 Stock grey shift star removed. |
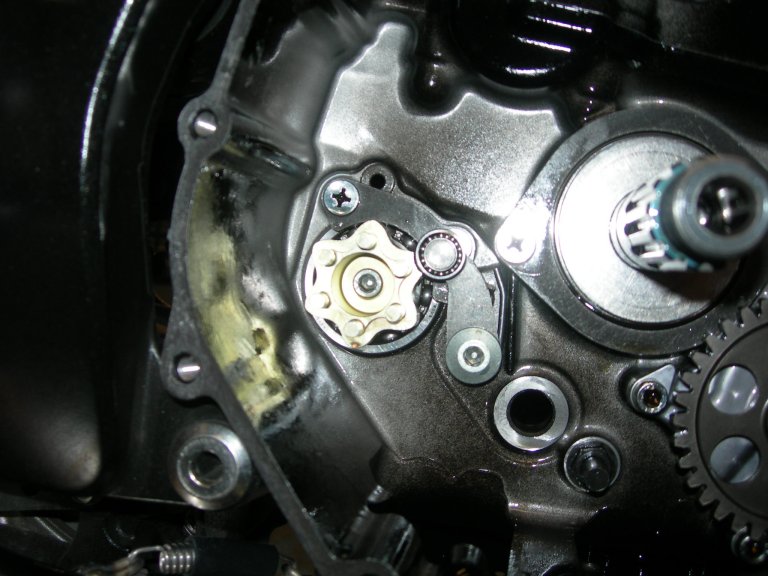
 Install the new gold plated Factory Pro STAR. Use a bit of loctite on the screw. 6-8 ftlbs torque. |
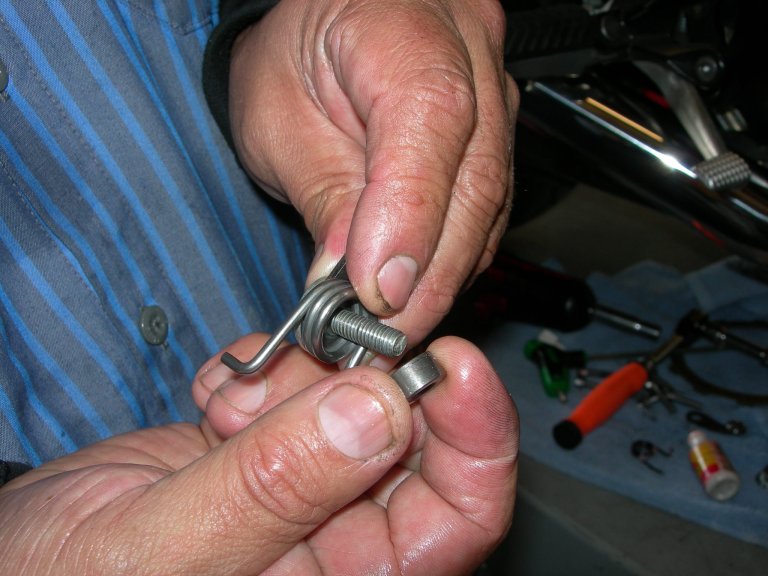 Hand assemble the new Factory Pro Detent Arm and the new Factory Pro performance spring. Make sure you re-use the stock spacer collar. |
 Ahh! All assembled and happy. It takes a few minutes to get the detent arm lined up and
tightened. Make sure you don't bind and bend the arm when
installing. Use a drop of loctite type threadlocker on the screw. |
 Slide in the shift shaft. |
|
Replace the shift shaft plate washer and circlip. Replace the shift lever and bolt. Check the shifting - between 1st and neutral and make sure that things look right and feel OK. It's a Kawasaki so you can't shift to 2nd unless the bike is rolling. |
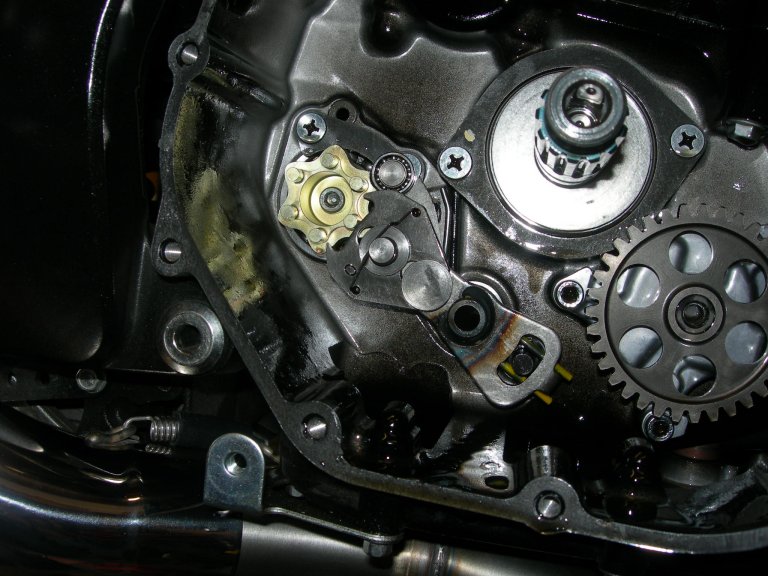
 Basket on - Make sure to rough align it with the oil pump gear (behind primary gear, lower right, 5 o'clock position) |
. Slide in the clutch shaft bearing and spacer collar (the one with the 4mm screw holes). Wiggle the basket a bit and it will get "1/2" aligned and in somewhat... Don't force it. |
 The 14 has a "split" primary gear and you have 1/2 of it aligned.
|
 Slide the inner clutch hub in. |
|
Install the: 1. Thick flat washer 2. Domed "Belleville" lock washer (domed inner surface to the outside, towards you) 3. 27mm or 30mm nut to hold it all together. 27mm or 30mm nut torque: 100 ft-lb or 135 nm (thanks Kyrre Hřydahl, Norway for the torque specs) 4. Install "clutch pusher", Torrington bearing and thrust washer (still in the inner clutch hub?) 5. Replace clutch plates: 6. then a steel, then alternate fiber and steel till the last fiber and it's outer tangs are lined up to the "short, alternate outer groove". See below picture. |
 Install the outer clutch hub plate. Install the clutch springs and bolts. |
|
Done! (note: this is the original disassembly picture - Use hand tools to tighten up the cover screws - NOT an impact wrench!) |