 |
Remove the clutch cover. | Remove the clutch
assembly (use your shop manual) |
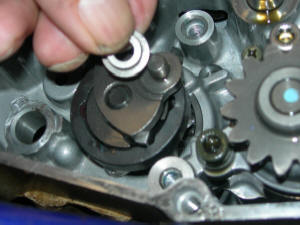 |
Remove the little top hat collar and don't lose it. | |
 |
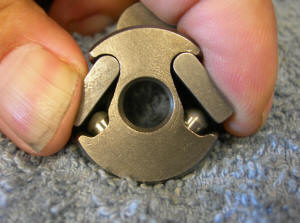
Pinch the pawls together and gently remove the pawl holder. Hold around the outside so the pawls, springs and plungers stay together. | |
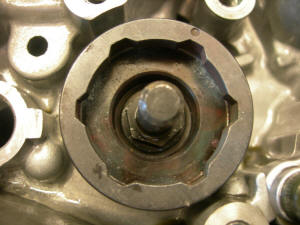 |
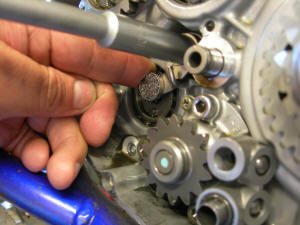
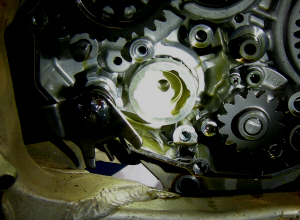
Turn the star till it reaches
the stop (it's either 6th or 1st gear). Turn the clutch shaft to get
it to go into the "next" gear. Unscrew the center stud - it takes a deep 12mm socket.
|
|
 |
||
 |
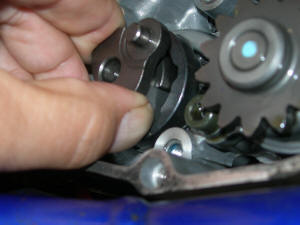
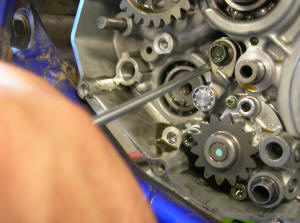
Use a 10mm socket and remove
the 6mm pivot bolt for the stock detent arm.
|
|
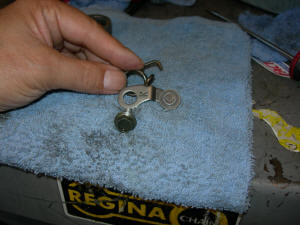 |
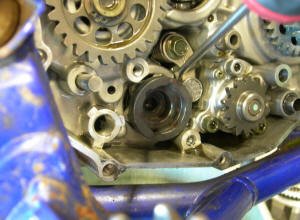
This is what comes out. You will replace the detent arm and the spring with new Factory Pro parts. |
|
 |
Put in the new Factory Pro
Microbearing Detent Arm and new heavier duty spring. A good hint is to Loctite the pivot bolt with Blue Loctite. Not absolutely required, but a nice touch. |
|
 |
Lever the arm out and slip in...... | |
 |
the new Factory Pro Detent STAR. Install the center stud. | |
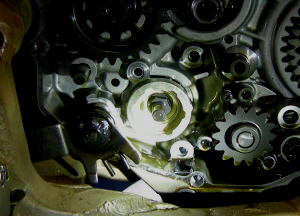 |
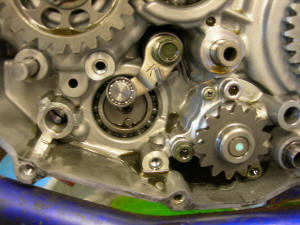
There's the new detent arm and the new preproduction detent STAR. | |
 |
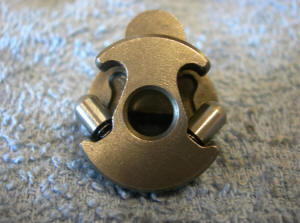 |
Here's how the shift pawl holder
is assembled. These are the spring loaded plungers. |
 |
 |
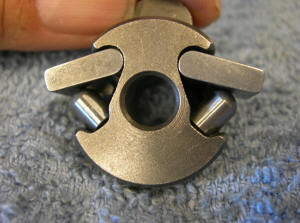
Next, install the pawls. |
|
|
Squeeze the pawls in and slip into the ID of the Detent STAR. |