 |
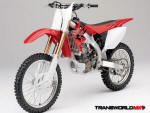
Honda crf450r 02-06 |
|
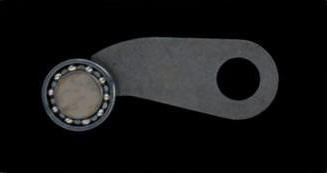
Factory Pro's Shift STAR kit - help prevent missed shifts and dog and fork damage caused by missed shifts. |
|||
SHFT-EVO-H45-KT $169.95 (inc 1 EVO STAR, Microbearing Detent Arm, but NO spring required and gaskets not supplied)
|
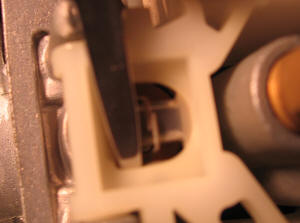
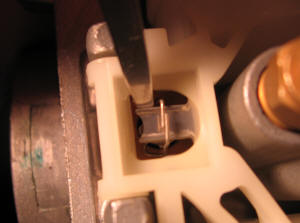
The Factory Pro EVO Shift STAR Upgrade kit will upgrade your bike to "better than new" quicker, more consistent shift action. Proven in 10+ years of pro level use. Virtually eliminate missed shifts. Decreases shift process 5mm to 15ms (must re-set shift kill duration if using a Quickshifter) Make shifting MUCH quicker and virtually eliminate missed shifts. Helps address missed shifts caused by poor shift detent "star" profile. Helps prevent shift fork and gear engagement dog damage caused by missed shifts. The Factory Pro Shift STAR kit is an awesome upgrade for the notchy Honda shifting. Installation: Slightly more complicated than replacing the clutch basket. It's right behind the clutch basket. No case splitting required. Feedback Shift Star kit worked awesome! Not one missed shift all weekend. Easier to find neutral, too - Which is good because I have to put it in neutral to start it for some reason. Doesn't like to start with the clutch in. With the close ratio tranny, I did a lot of shifting. Leigh Thomas - Mojave area |
||
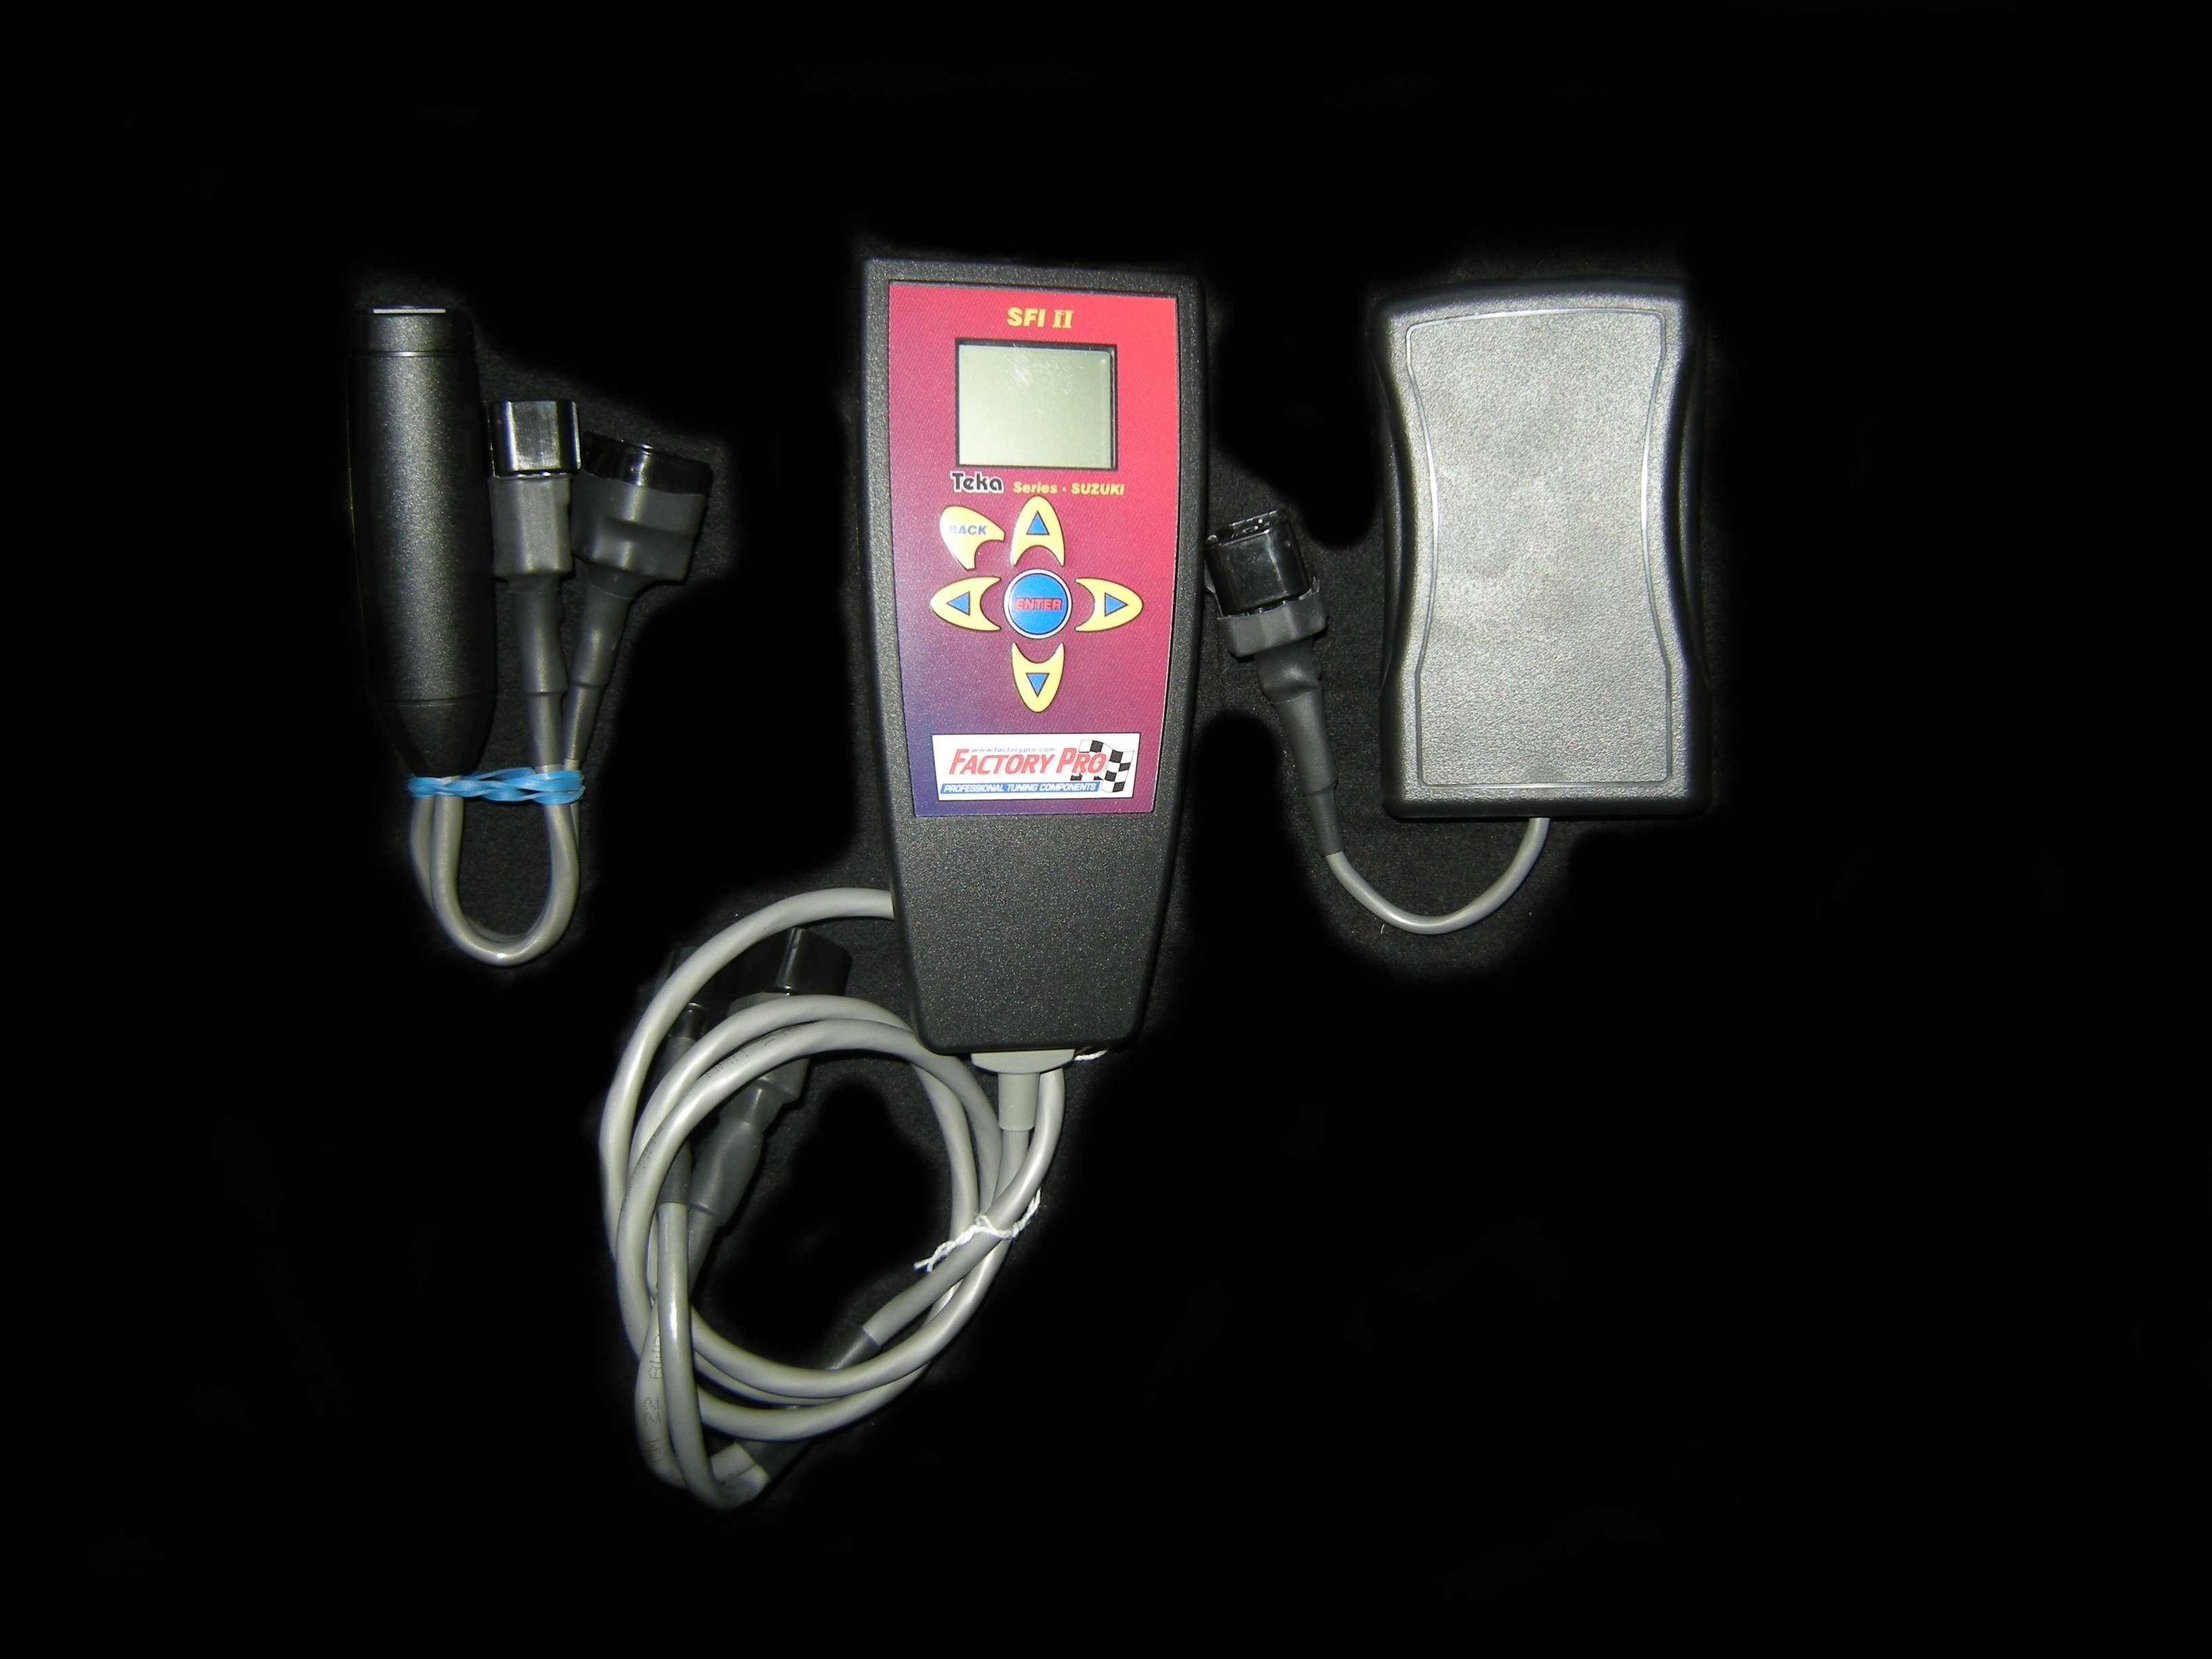
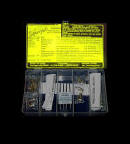
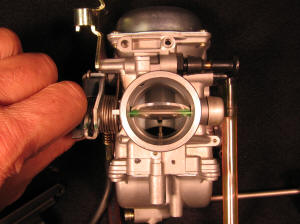
| Keihin FCR Carb Recalibration Kits - patented Factory Pro HDJ style | |||
|
CRB-CH45r04 02-06 $99.95 |
Factory Pro's secret The crf 450 carb recal kit was designed with as much care and attention to detail as we give to our EC997 dynamometer and test routines, our Shift STAR shift improvement kits, our Billet Engine Covers and all of the other products that the quickest road racers in the USA and World used to collect a total of 9 WERA and F-USA national Championships - along with the Suzuki Cup World Champion, Rob Jensen. We've now entered the off-road arena to bring some new, exciting, well proven concepts, such as our easily tuneable "HDJ" style jet kits and several other things that we've picked up along the way. One of the improvements was
EC997 dyne systems design
and test routine design - We have been saying for
years that inertia dynos were misleading and now, these new "HDJ" carb
kits show how much better the
EC997
load dynos are than
inertia dynos when it comes to developing any performance products.
Sounds a bit egotistical? Perhaps it sounds that way - but, I think that
we've got quite a few local Norcal racers that we've done fine tuning
work for that would agree with us. The Factory Pro HDJ kits, designed by Marc Salvisberg, will run more evenly over a wider temperature and altitude range than any other carb kit and will produce 3% to 8% better power than another carb with the "best main jet" in it, when properly tuned and tested under a real load. This does not mean an inertia dyno - though, power will be better with a dealership level dyno, also. So - Here's the power - Buy it! Thanks! 800 869-0497 |
||
|
Other performance goodies |
|||
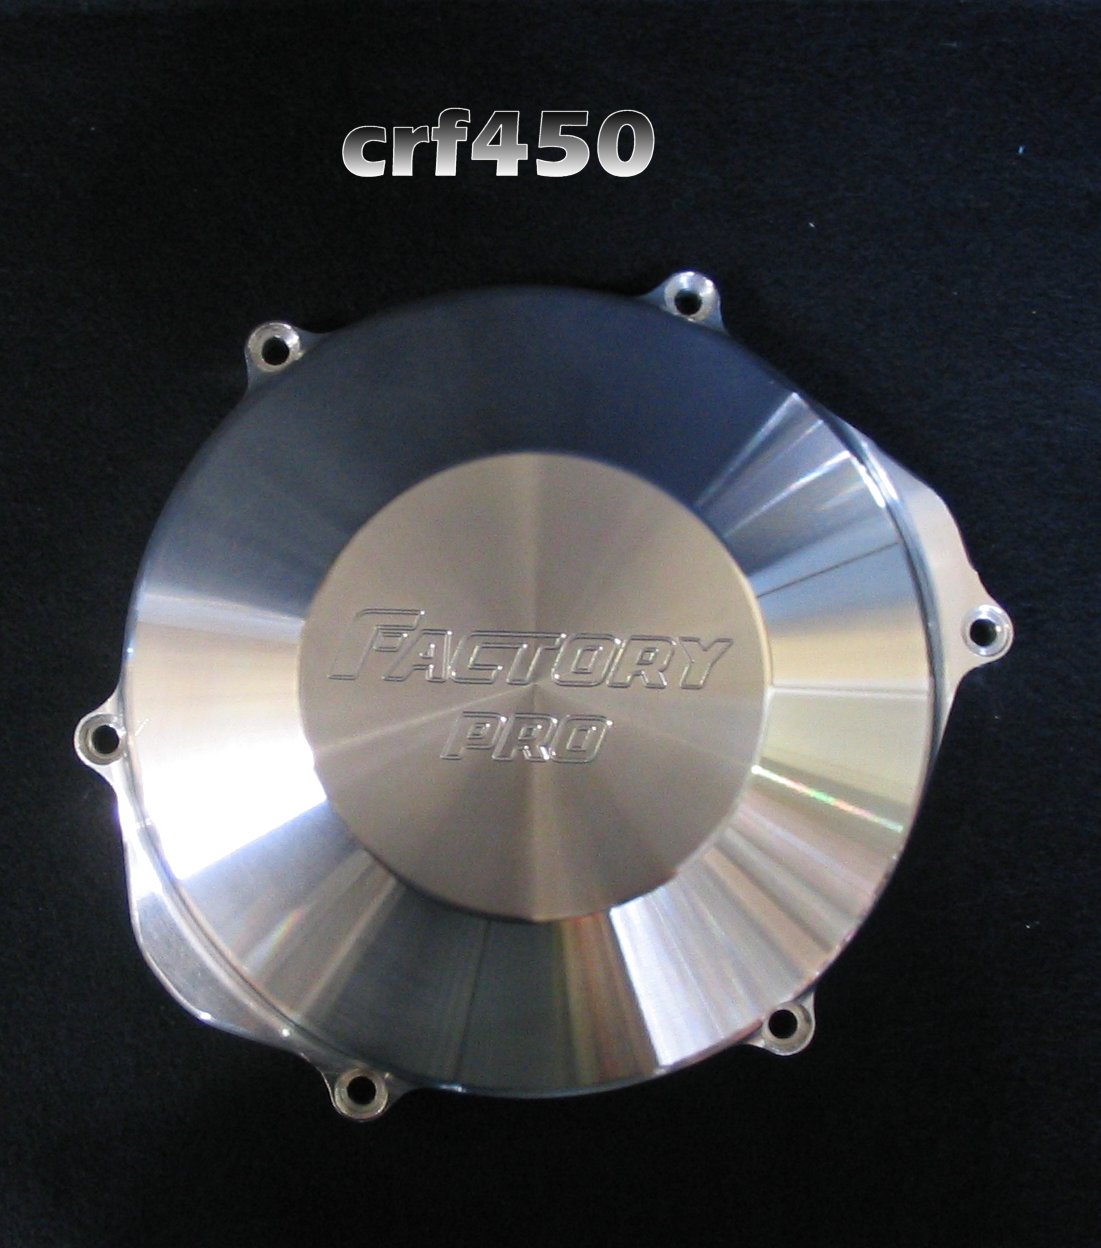
|
F-Pro Billet Clutch Cover w/ new screws pn: cov-ch45-rh-kt 02-08 crf450r (not the "x") $179.95 retail Special $69.95 |
 |
||
|
|
|||

|
Tech Tips |
|
Factory
Pro's patented HDJ MAJ installation for crf / wr / yfz Keihin FCR carbs |
|
|
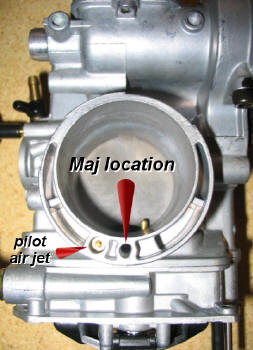
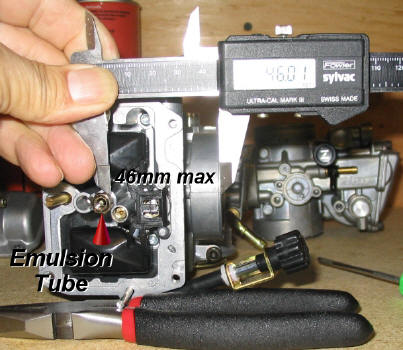
Where's my main air jet and what do I do with that drill bit and tap that came in my Factory Pro HDJ kit for my Keihin FCR carb? First step is to eliminate the fixed main
air jet restriction. Remove the stock emulsion tube (that's what the main jet screws into) so that you can clean out the carb well. By only having 45mm to 46mm of the drill bit exposed, it prevents you from drilling too far. Then, use the supplied tap from our HDJ carb kit, thread the
Main Air Jet (aka "MAJ") hole. Clean the hole, of course. After it's clean, complete the MAJ Modification by installing the supplied Main Air Jet and installing the new Factory Pro HDJ Emulsion Tube. NOTE!!! This modification is something similar to what we've done in
many different carb types over the years, though it might be new to
some who haven't used our "1.7-RK" carb kits before. |
|
 |
 |
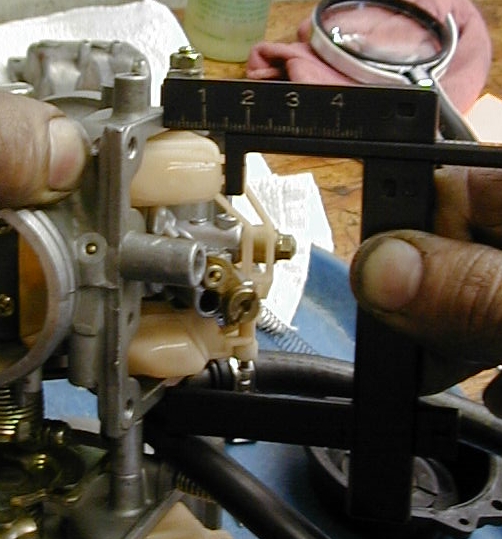
Why adjust the float height? Changing the float height changes the level of the fuel in the float bowl. The fuel height adjusts the full throttle, 2k-3k rpm and part throttle cruise, as in cruising around town, trying to be quiet... To give a scale of change, if the bike runs well when cold, but gets a bit sloppy when fully warmed up, lower the fuel level 1mm (i.e. go from 15mm to 16mm float height - remember the float measurement is "backwards"). When do I adjust the float height? When installing a
Carb Recalibration Kit tm.
How much is the nifty Float Valve Measuring Tool? How much is that nifty Float Valve Measuring Tool? About $49.95, direct from Factory Pro 415 883-5620 415 492-8803 fax
|
|||||||||||||||||||
|
|
This is a picture of a set of 38mm Mikuni CV carbs as supplied on the: Ducati 600/750/900
Note: |
||||||||||||||||||

.JPG)
.JPG)
|
||||||||||
| LINKS | ||||||||||
|
|
EFI and Carb Tuning - Most all FI and carb tuning by Wheelsmith Racing |
|||||||||
|
|
Flight Training - train with AMA race winner Todd Harrington. The Harringtons own American Flyers, one of the most established flight training facilities in the USA. 8 locations 800-362-0808 |
|||||||||
|
|
The Rich Oliver
Mystery School will help you discover your hidden inner strength.
It will challenge you. It will teach you a new way of thinking, and a new way of riding. You can take your riding to an exciting new level! We use a variety of proven drills and training techniques. Practicing these techniques with our Yamaha dirt track trainers will enhance your abilities both on the track or the street. It doesn't matter what you ride or race, the Rich Oliver Mystery School improves everyone's skill level and mindset! |
|||||||||
|
|
WW2 vintage flying Special Book a sightseeing flight over the Wine Country
or a Kamikaze aerobatic flight or a biplane flight over famous
Sonoma Raceway,
the Golden Gate Bridge and the San Francisco Bay for one or two during
the spring and get a free souvenir t shirt! 707 938 2444 |
|||||||||
|
The extension of the laboratory
for engines of the Swiss Federal Institute of Technology was completed
in about 1935. Its architect was Rudolf Otto Salvisberg (1882-1940).
He had a successful career in Berlin but returned to Switzerland after
the advent of the Nazis. His architectural style was somewhat similar
to that of Erich Mendelsohn. The staircase of the laboratory is in normal
use but well preserved. Edited to the tunes of Chemical Residue by Herbie Hancock. |
||||||||||