 |
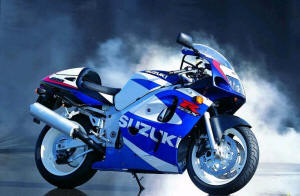
Suzuki GSX-R600, 01-03
|
|
|
|
Suzuki GSX-R600, 01-03
|
|
|
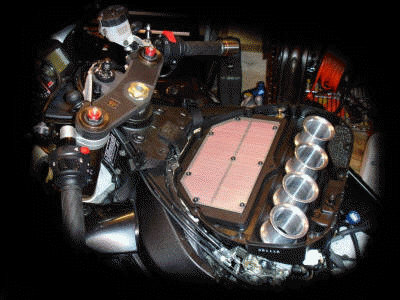
Superflare Velocity Stacks |
The EC997 dyno chart is in
True HPtm scale. It's not "dyno loading specific", it's not "apparent only on a dyno hp", it's not "only there under inertia loading" - It's real power, measured against a real, lifelike, "load" - as the bike experiences in the real world -
At least 10% of the dyno buying facilities in the USA have decided to
go with honesty and real HP - using the EC997 Dyne systems as used at
the best of tuning centers -
Anyway.... the stacks....... The results are typical for our patented v stacks - The Factory Pro stacks are shaped better than stock, so they propagate and recover the intake wave more efficiently, as shown by the "meatier" upper midrange and make more power at redline, due to the improved flow rates at higher velocities.
Actually, as it turns out, the "short" stock Suzuki
stacks, after the radius problems were worked out, were "too short".
|
|
Shifting improvements |
|
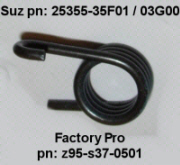 F-Pro Shift Spring $49.95 pn: z95-s69-0201/0/0501 replaces Suz pn: 35355-35f01/03g00 spring |
Stage 1 The Shift Spring You will miss fewer shifts, shift even quicker and help prevent shift fork damage caused by missed shifts. Suggest both the spring and the Star. The star and spring are located behind the clutch basket. 1-2 hours to install. |
|
Stage 2
|
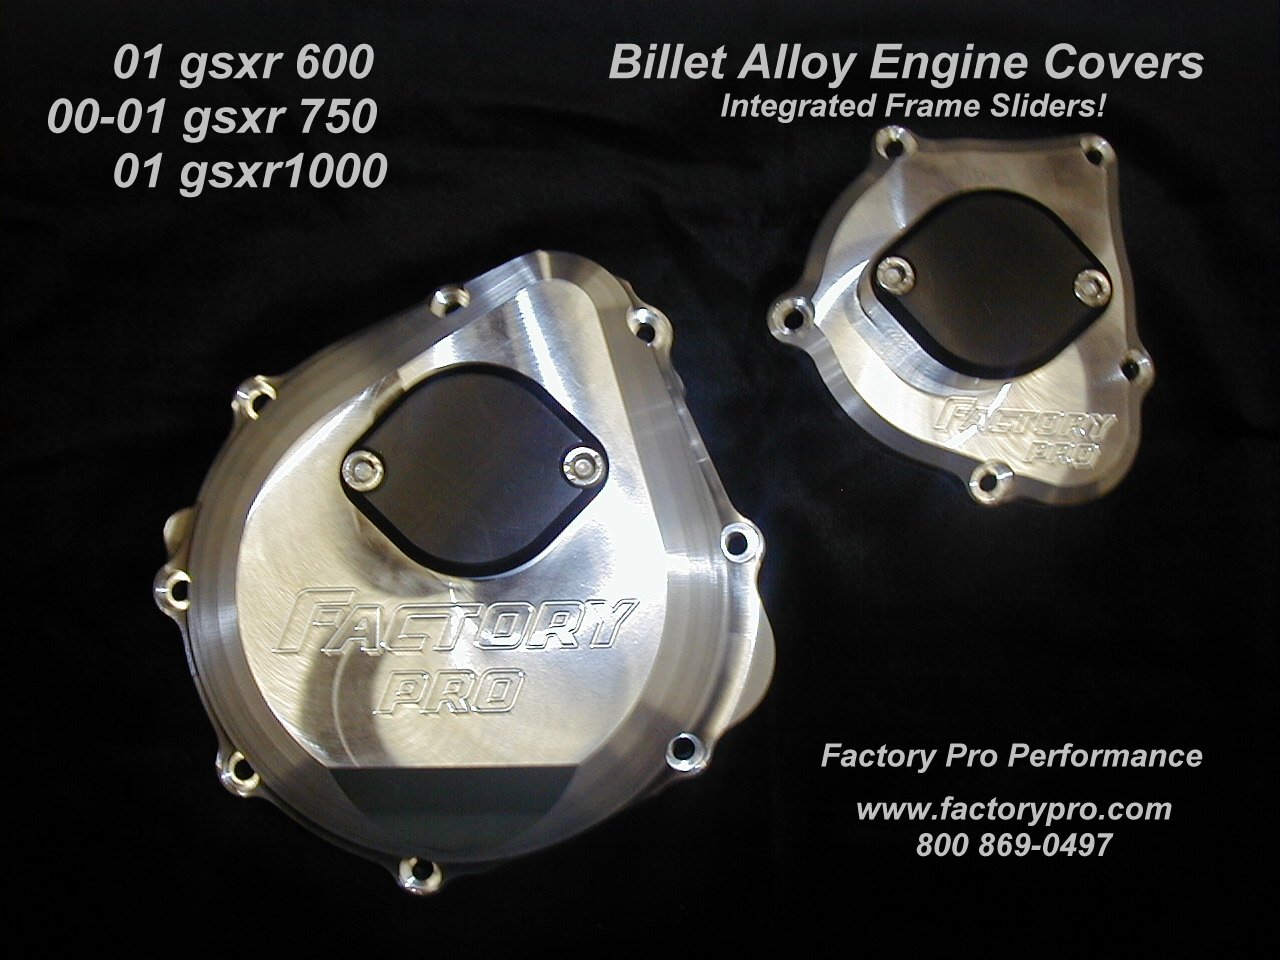
| Engine Covers | |
|
These are THE COVERS.
|
|
$395
|
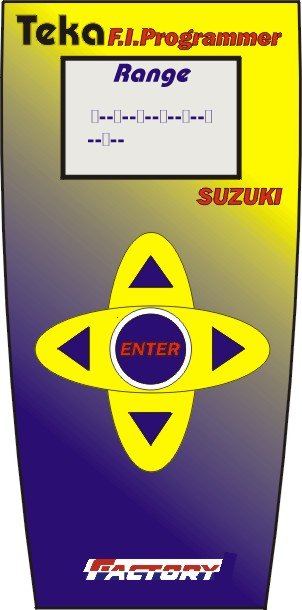
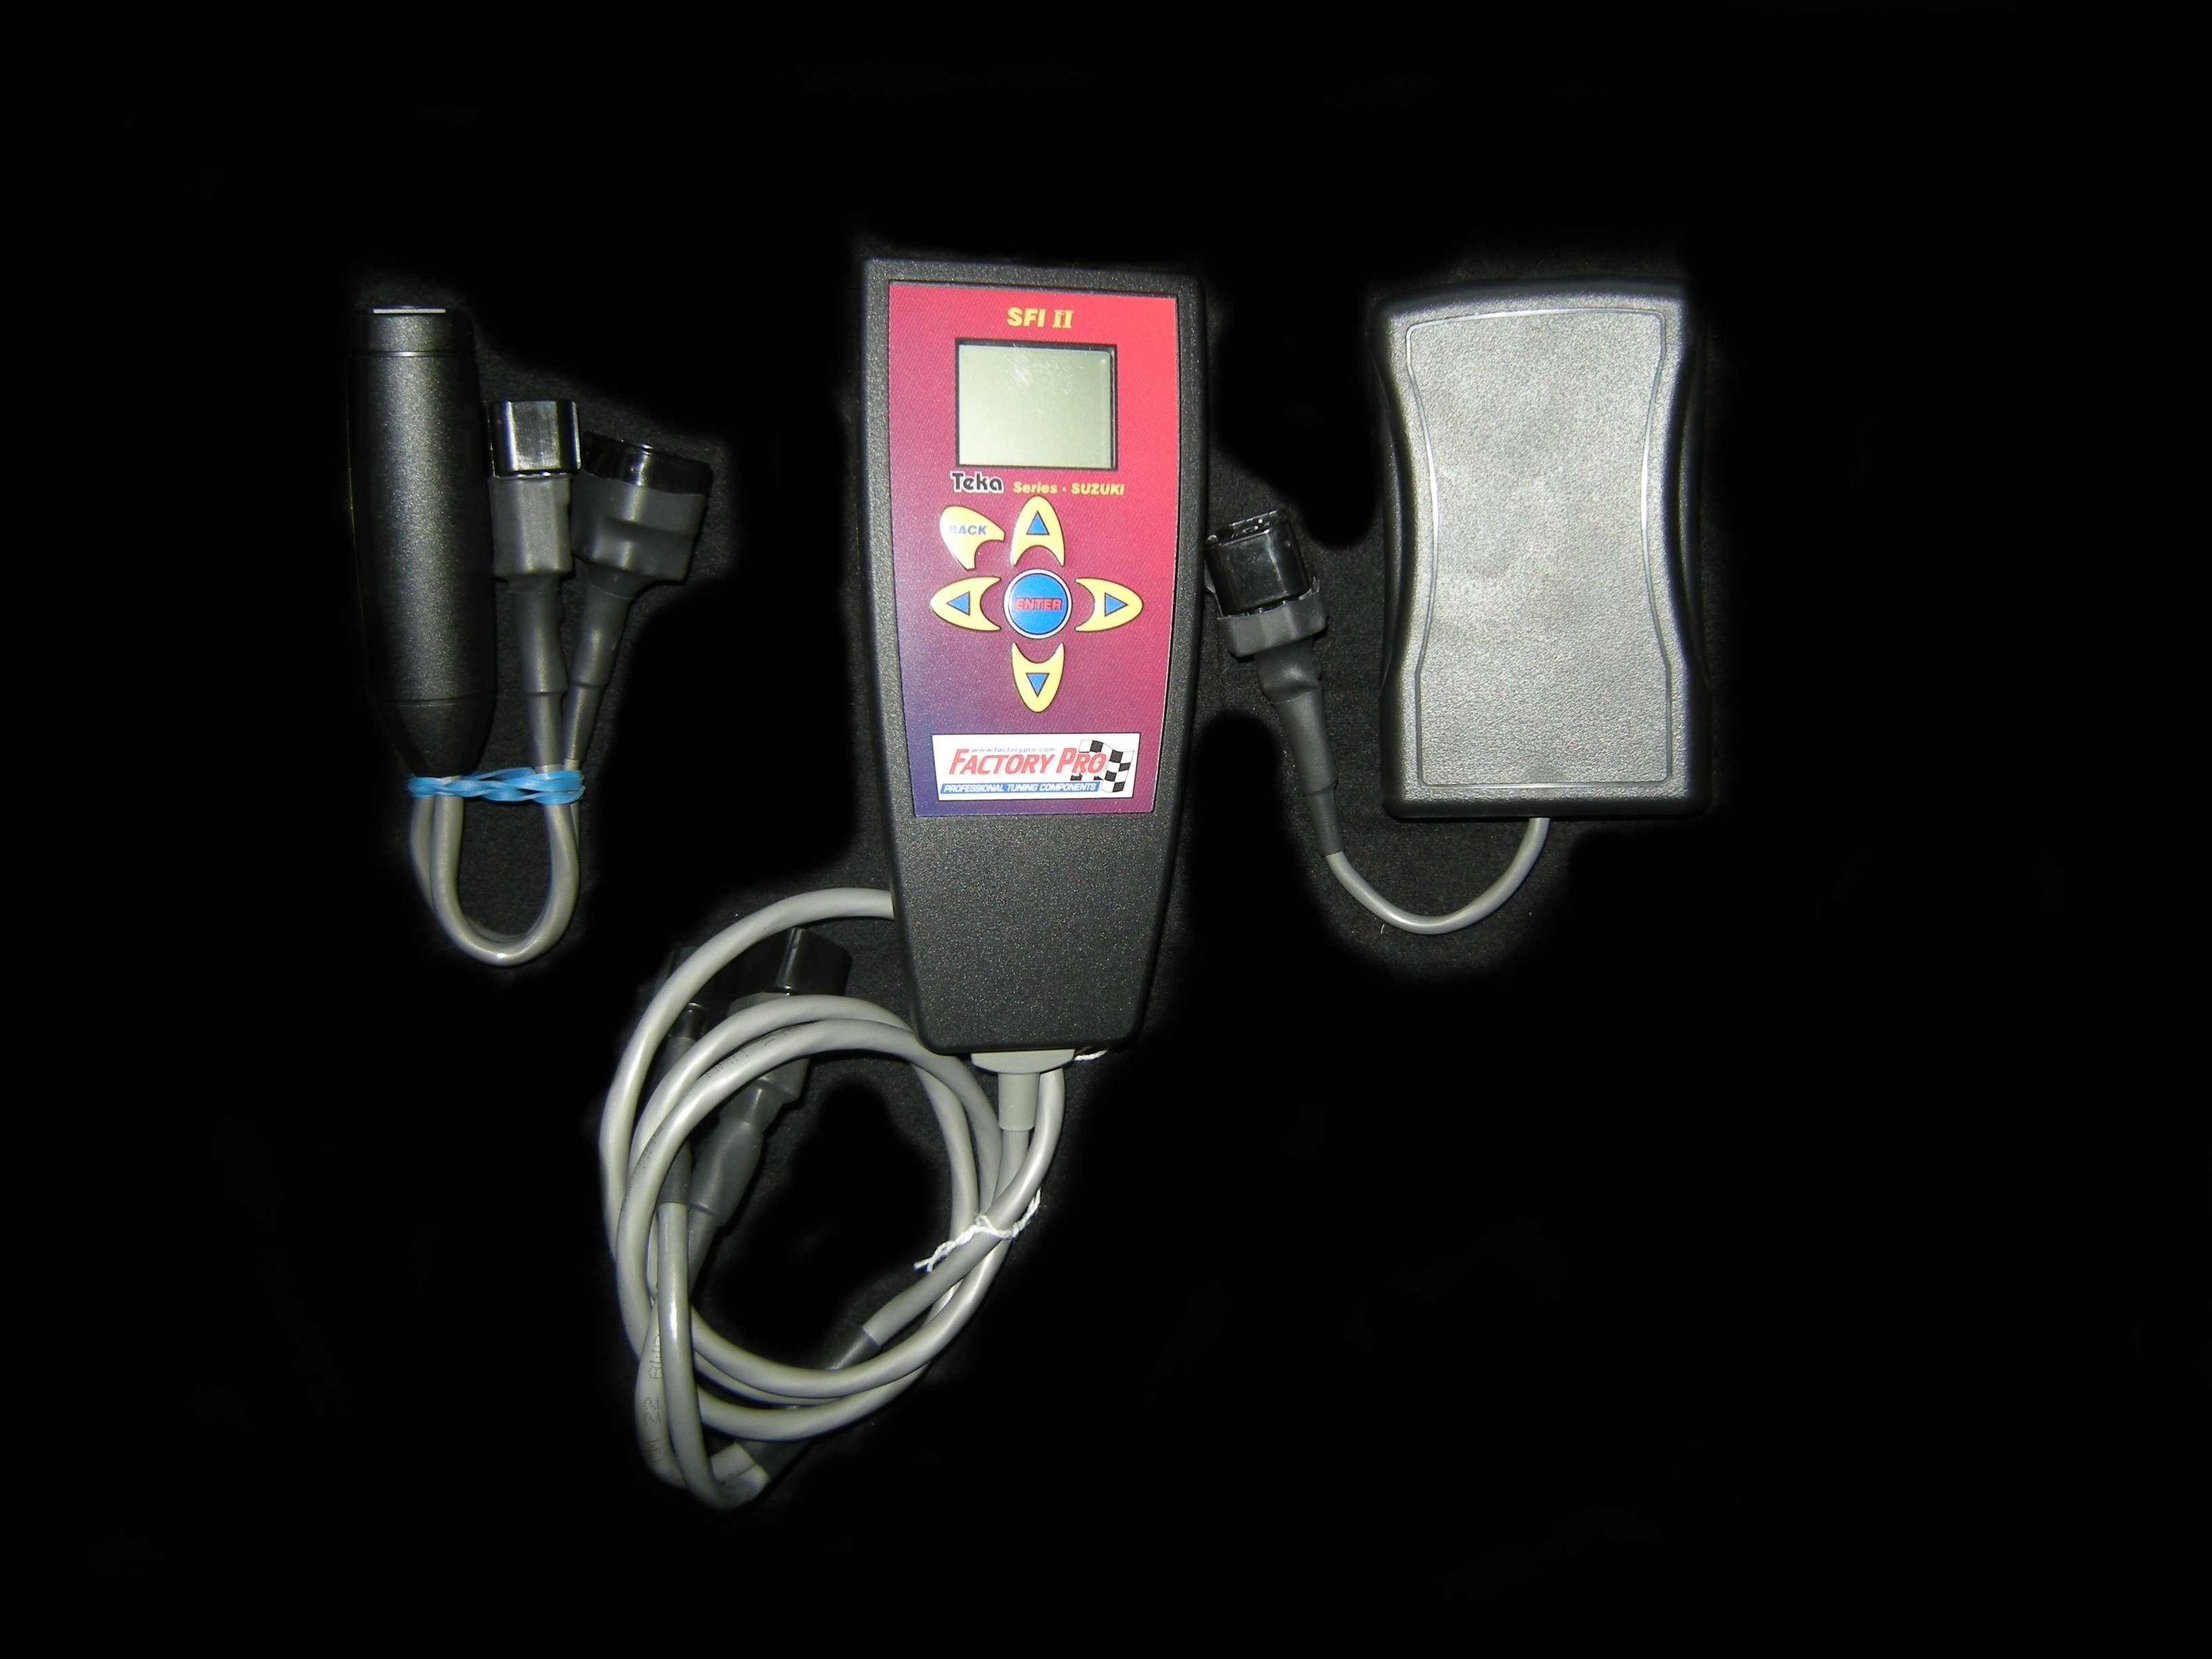
Teka "SFI"
Fuel Injection Tuner for Suzuki.
|
| Hybrid Ceramic Wheel Bearings | |
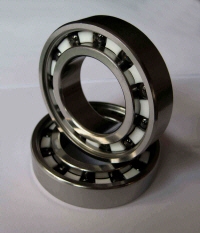 $378.55 5 bearing kit front and rear wheel + sprocket carrier pn: BE-HYCER-S70/gsxr600/01-03 |
Hybrid Ceramic Wheel Bearings 5pc bearing set Tough 52100 steel races, rubber seals and lightweight, almost friction free, silicon nitride ceramic balls. Bearings are pregreased and ready to use. Bearings have rubber seals that are easy to remove if desired. marc@factorypro.com |
|
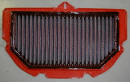
Designed by the same Italian craftsmen that developed Ferrari's F1 Air Filters - this filter filters well, flows more air and lets the engine make more power than the stock air filter. Cleanable BMC air filter systems (avail. direct from Factory Pro) for more power - click here for more information.
FIB-SUZ-26804R
|
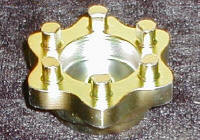
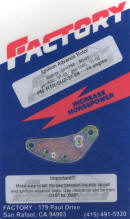
| Ignition Advance plates for Suzukis | |
|
discontinued
Replaced by ecu reflashing
|
This advance kit advances the ignition timing 4 degrees This simple,
bolt-on advance kit advances the timing 4 degrees. With stock engines
with stock compression ratios, there is more power everywhere. Part
throttle power is better - helping corner exit speeds. Improved in-town
driveability and quicker warm up. |
![[Most Recent Quotes from www.kitco.com]](http://kitco.com/images/live/s_gold.gif)
Links
Tech
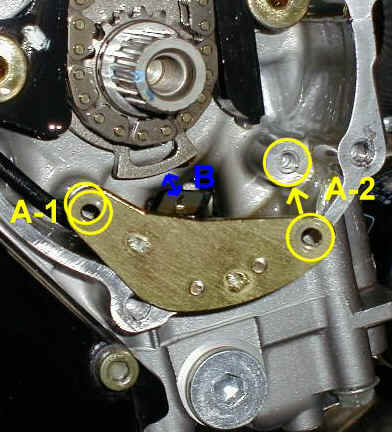
Main Air Jet location for "1.7-RK" Race kits
pn: RTR-SUZ-37-02 - ignition mount plate install and tech
application:
gsxr600/gsxr750/gsxr1000,
1997 to 2008
tools required:
5mm allen wrench
#2 philips screwdriver
medium flatbladed screwdriver
Razor blade or Exacto knife
gasket sealant
14mm socket
air wrench
A look in. Location of ignition trigger mounting plate on: gsxr600, 97-11 (and similar) 1. Remove the outer "palm sized" small starter cover (already removed). 2. Remove the inner, larger starter clutch cover (already removed). Remember, there is a screw in the upper left of the inner cover that is not accessible until the small, outer cover is removed. You will probably reuse the gasket 3. Remove the starter clutch bolt with a 14mm air wrench (that's the easiest and quickest way). 4. Remove the original ignition plate from the engine cases with a #2 Phillips screwdriver. (it's under the starter clutch gear)
|
|
| 5. With a flat bladed screwdriver |
|
| 9. Check the tightness of the coil plate screws,
reinstall the ignition plate. Use a bit of light strength thread locking compound on the
screws if you want, for a good job. 10. Reinstall the starter clutch and mounting bolt. BE SURE to line up the indexing marks on the crankshaft end and the starter clutch or the TDC marks will be wrong and that could cause big problems if using the TDC marks to adjust the valves later..... 11. Reinstall the covers (don't forget the screw under the small cover). Replace or reseal gaskets as necessary. 12. You should not have any parts left over, except for the old ignition plate. |
|
True Rear Wheel HP measurement on the EC997!
|
||||||||||
| LINKS | ||||||||||
|
|
EFI and Carb Tuning - Most all FI and carb tuning by Wheelsmith Racing |
|||||||||
|
|
Flight Training - train with AMA race winner Todd Harrington. The Harringtons own American Flyers, one of the most established flight training facilities in the USA. 8 locations 800-362-0808 |
|||||||||
|
|
The Rich Oliver
Mystery School will help you discover your hidden inner strength.
It will challenge you. It will teach you a new way of thinking, and a new way of riding. You can take your riding to an exciting new level! We use a variety of proven drills and training techniques. Practicing these techniques with our Yamaha dirt track trainers will enhance your abilities both on the track or the street. It doesn't matter what you ride or race, the Rich Oliver Mystery School improves everyone's skill level and mindset! |
|||||||||
|
|
WW2 vintage flying Special Book a sightseeing flight over the Wine Country
or a Kamikaze aerobatic flight or a biplane flight over famous
Sonoma Raceway,
the Golden Gate Bridge and the San Francisco Bay for one or two during
the spring and get a free souvenir t shirt! 707 938 2444 |
|||||||||
|
The extension of the laboratory
for engines of the Swiss Federal Institute of Technology was completed
in about 1935. Its architect was Rudolf Otto Salvisberg (1882-1940).
He had a successful career in Berlin but returned to Switzerland after
the advent of the Nazis. His architectural style was somewhat similar
to that of Erich Mendelsohn. The staircase of the laboratory is in normal
use but well preserved. Edited to the tunes of Chemical Residue by Herbie Hancock. |
||||||||||