 |
08-09 |
|
 |
up to +3 to +5 TRUE HP upper midrange Superflare Billet Velocity Stacks |
|
Shift STAR kit for the B King |
|
|
S36 Ignition Advancer Kit |
| Superflare Billet Velocity Stacks | |
|
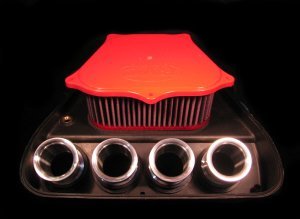
(sample pic, not of 08-09 B King - oem 13882-41G00) up to +3 to +5 and more midrange hp (if properly tested) Easy 30 minute install, no drilling or cutting required pn: VEL-S31-4545-50mm
$379.95 |
You wanted a quick and easy boost in B King power without the
downtime, expense and potential unreliability of big bore kits and heavy
valve springs? B-King Superflare V Stacks
HEALTHY +3 to +5 True HP gain in the mid and upper midrange rpm when measured under a real load on a stock engine. We did not change fuel injection tuning. With the stacks, low rpm response is "tighter" and more responsive, too. And! Bonus! Note: All testing done under fully loaded dyno
conditions on
EC997
Dyne systems
to get proper HP production.
Testing done on dealership level dynos "inertia" loading may appear
to be lesser or greater amounts of power. Drop-in them in an hour. Ride the bike. |
|
(sample pic, not of 08-09 B King - oem 13882-41G00) pn: VEL-S31-2525-v50 $379.95 High RPM power bias |
SHORT B-King Superflare V Stacks
High rpm bias short stacks 20mm to 30mm - for extending the powerband past
where the stock bike tapers off in power at high rpm. Use for
modified engines with extended rpm. Does NOT improve lowend and
midrange. The short stacks take away a little lowend and put it up
at high rpm, where the power (with stock stacks) is normally fading
away in power. If you want more low and mid, ask about our Factory Pro ECU Reflash. marc@factorypro.com
Bonus. Note: All testing done under fully loaded dyno
conditions on
EC997
Dyne systems
to get proper HP production.
Testing done on dealership level dynos "inertia" loading may appear
to be lesser or greater amounts of power. Drop-in them in an hour. Ride the bike. |
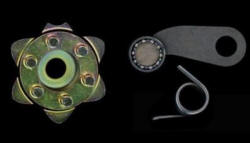 SHFT-EVO-S92 / BKing $199.95 Evo Shift STAR, F-Pro Shift Spring, shift cover gasket |
Factory Pro's
The STAR, spring and shift cover gasket
kit Banish the "Busa Boot Shift" forever. ................................ B King Shift STAR Install notes: Installation requires
countershaft sprocket removal. Impact wrench recommended Remove the countershaft sprocket. It's possible that some individual frames may be bent and welded very slightly differently, but we haven't seen one, yet. |
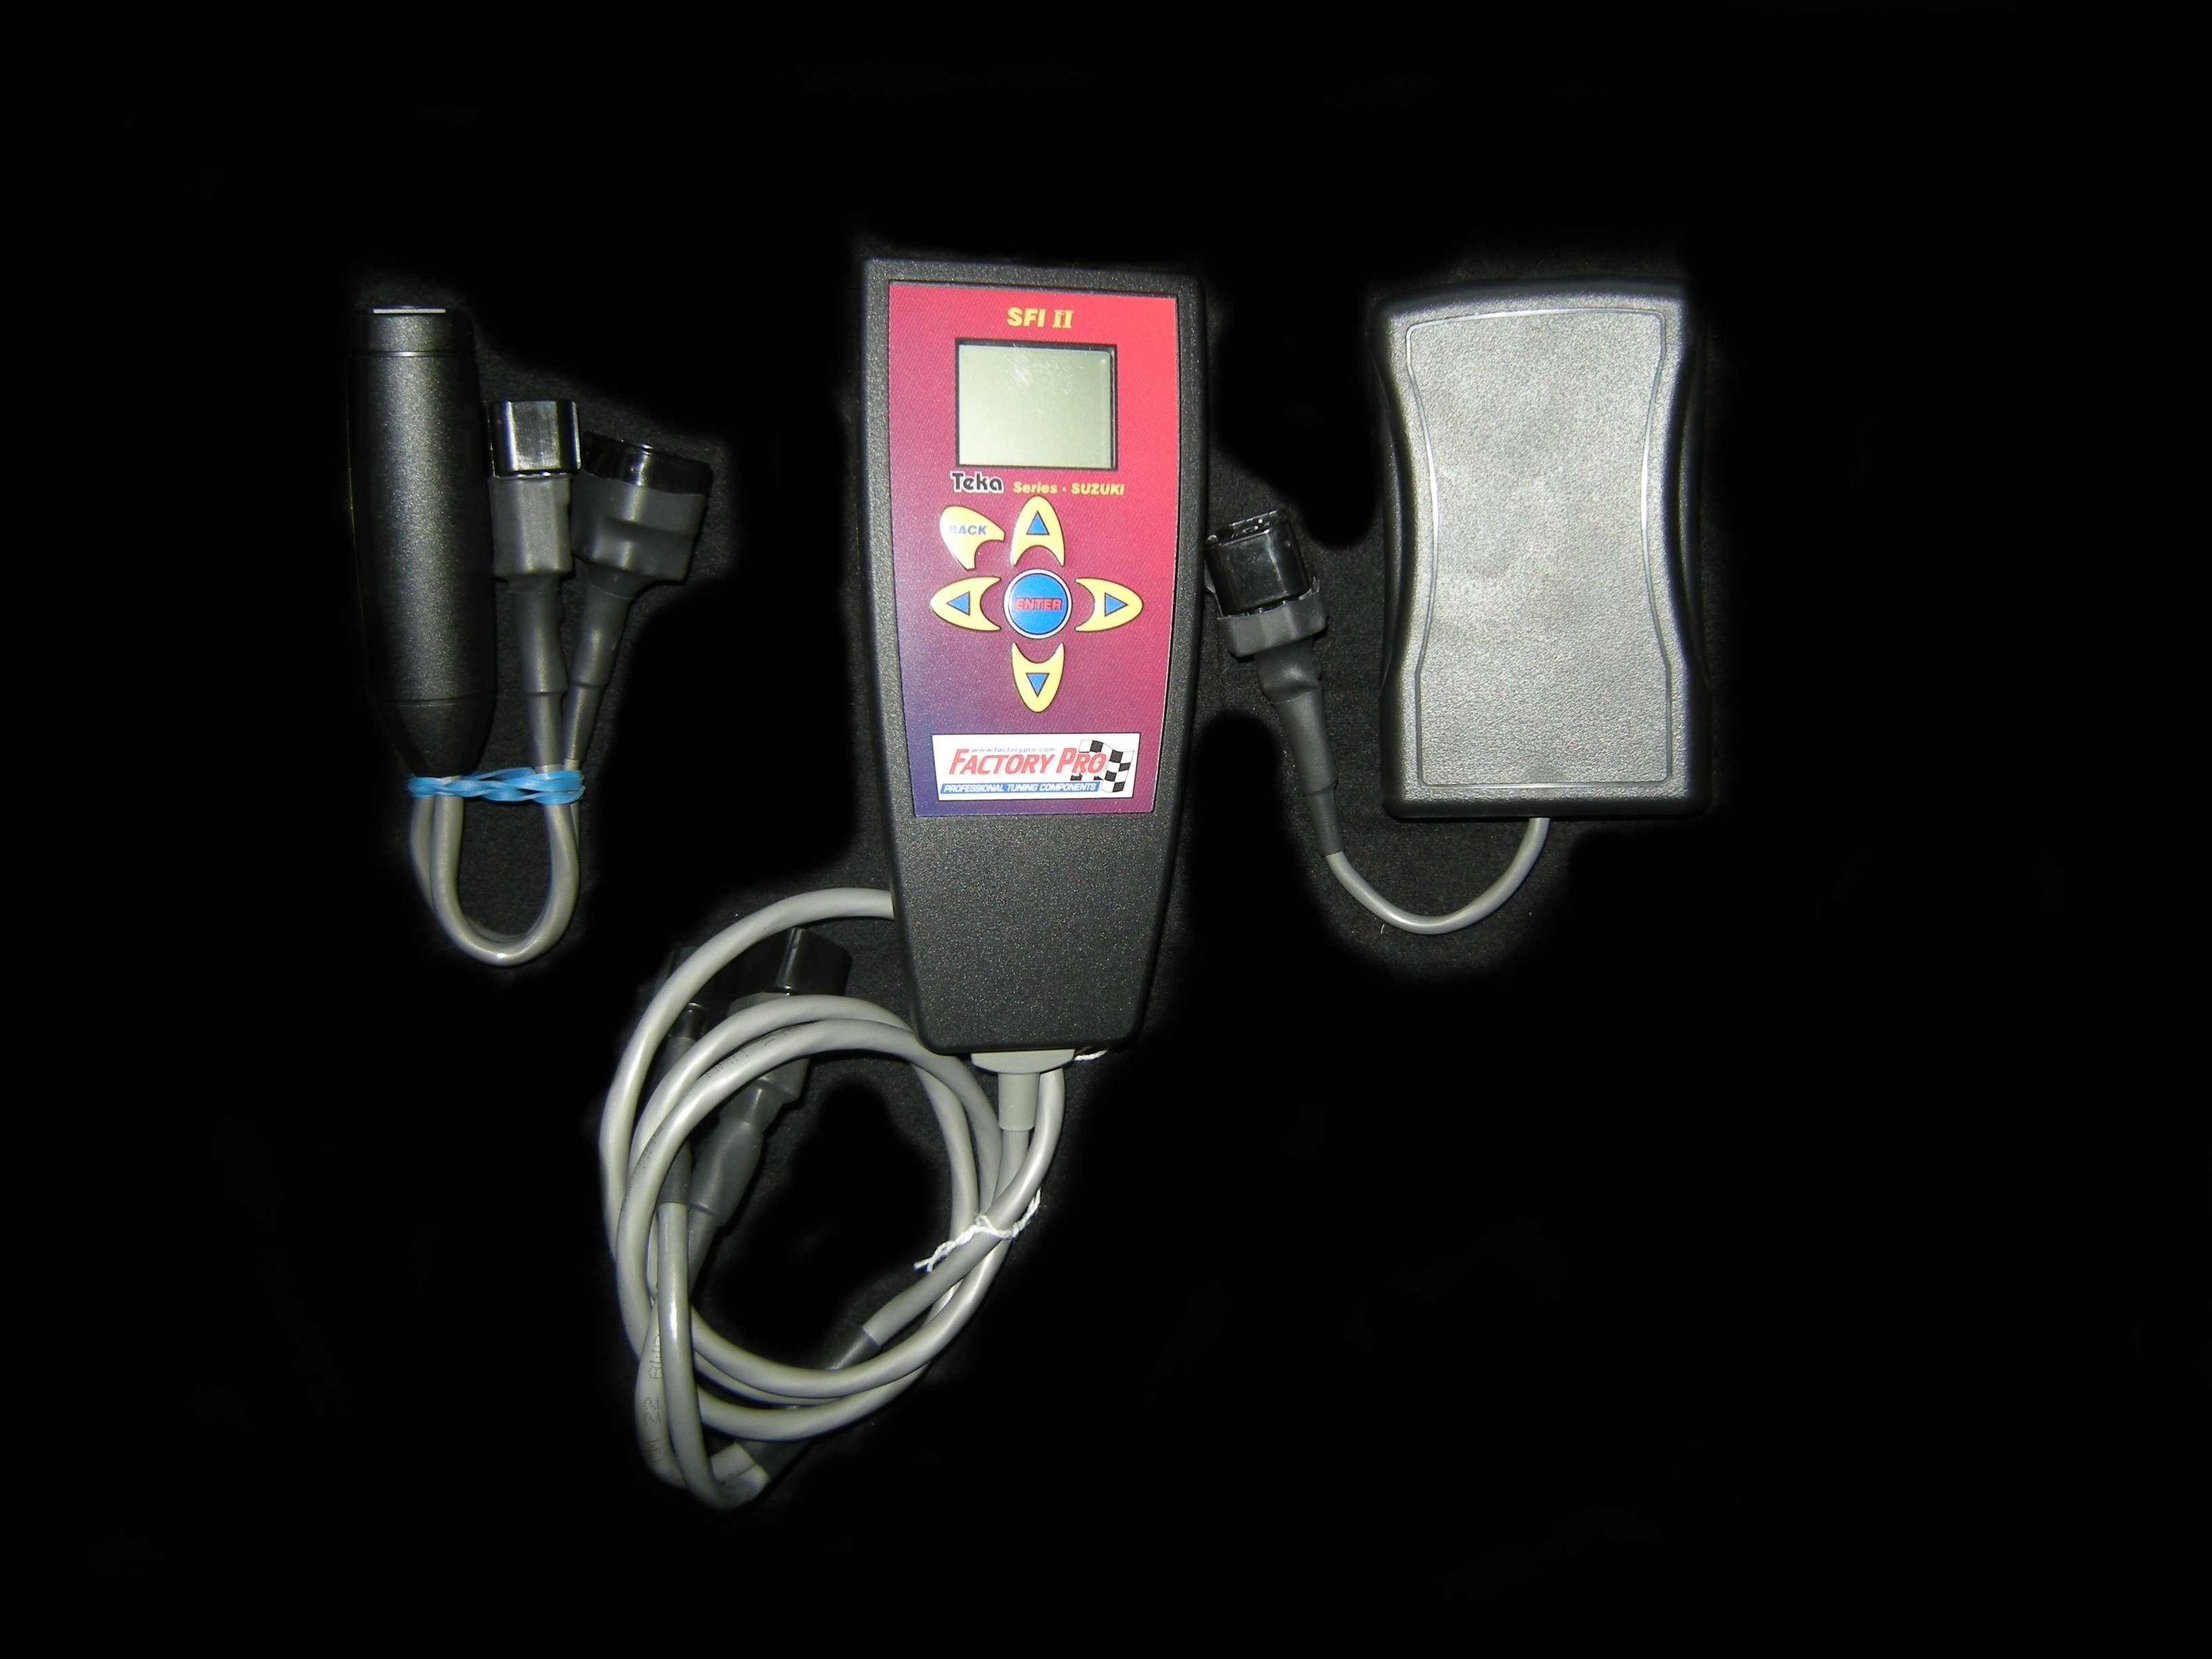
 RTR-SUZ-36-04 $89.95 |
The Factory Pro
S36 Ignition Advance Kit
advances the timing 4 degrees Improves power and "snap", lowend and midrange and even a True horsepower or so at full throttle in a stock engine (meaning an engine with stock compression) With stock engines with stock compression ratios, there is more power everywhere. Part throttle power is better - helping corner exit speeds. Improved in-town drivability. It's 100% reliable,
unlike electronic ignition boxes.... Ignition Advance KEY, Installation SV650, SV1000 DL650 DL1000 Hayabusa installation and pictures Of course, there's another way to do ign timing - Factory Pro's ECU Flash - Forget the ign advance kit, throw away the TRE. Can make better in ever gear with our Reflash. marc@factorypro.com |
.jpg)
True Rear Wheel Horsepower - Factory EC997a Eddy Current Dynamometer
INSTALL IGNITION ADVANCE
|
Ignition Advance Install Hints |
NOTE! - This just an abbreviated guide with hints and some experience added It is suggested that you have a genuine Suzuki service manual to refer to at all times. If you have a question about ANYTHING or are unclear about what to do, call us, call your dealer, call somebody, call anybody, but don't think that you can't break anything, put something together wrong, hurt yourself, or worse, hurt somebody else. BE CAREFUL. Marc |
| tools 1/2" air or electric impact wrench 1/2" 17mm and 19mm sockets (use impact sockets for safety) 17mm box wrench grease plastic mallet (or reasonable facsimile) |
|
| To start REMOVE THE IGNITION KEY and either: |
|
.JPG) |
Here's the right side of a well used trackday
bike that we were doing some work on. It makes pretty good power, with Twin Works (Zoran's) bored throttle bodies, mixed and matched intake cams and an exhaust system. We tuned custom length Factory Pro V stacks for it, tested The RTR-SUZ-36-04 +4 ignition advance key and tuned the PC3 for both R-Tech Pro V and pump premium. The stacks were good for 1-2 on top with the High
Rpm setup and 4ish in the midrange with the midrange set. |
.JPG) |
Remove the case screws. Tap with a plastic mallet to break the cover gasket free. fwiw, 90% of the time, the gasket won't break, but do you feel lucky? (have a spare gasket handy......) |
.JPG) |
After it's free, wiggle and pull the cover off
and swing it off to the back. Use a bungee cord to hold it back out of your way. No need to remove the clutch cable. |
.JPG) |
Here's the infamous idler gear shaft. It usually sticks in the cover, and it would be best to pull it out of the cover now and stick it back through the idler gear in the engine case. |
.JPG) |
Here it is, installed, at 9 o'clock, just to the
left of the flywheel. To get the gear hole to line up with the crankcase hole, use a 17mm wrench to wiggle the crankshaft while "eye balling" the hole alignment, the gently inserting the idler shaft and wiggling the crank till it finally slips into place. |
.JPG) |
Now, WITH A 1/2" impact wrench, unscrew the 17mm flywheel bolt. |
.JPG) |
Now, lightly grease the initial threads on the
flywheel puller and put a dab of grease on the face (like the
mechanic is about to do). The grease is to lubricate the threads and crank face and help prevent galling when you are impacting the puller bolt |
|
|
19mm socket and 1/2" impact. Read below frame. |
| Puller Background "Intro Course" The "taper fit" of the crank / internal rotor are EXTREMELY sensitive to ANY dimensional tolerance in the manufacturing process. 1.25% of the flywheels will surprisingly pop off with a single:"2-3 hit" and the other 1.25% will be tough. About 97.5% of the rotors will pop right off with a few short 3-4 hit Impact Wrench bursts. Some will sit there and not pop off after after 10-15 "3-4 pulse hit and waits", even after sitting there overnight with a tightened up puller. If, after overnight, and a few "hit and waits" in the AM, it still doesn't pop off (and you are using a proven strength 1/2" Impact Wrench), then I would suspect that you have one of the "tight" 1.25%'ers.and suggest 1 of 3 options. 1. Stop and give up. (You don't HAVE to have an ignition advance, do you?) 2. Unscrew the puller, re-grease and try a few more "hit and waits" in 10 hit increments, getting closer to stripping the puller and maybe the the flywheel threads (stripped threads are only actually expensive if you insist on pulling the flywheel, ever). 3. Call your friendly local dealer to do it, be honest and tell them what you are doing and tell them that the flywheel isn't popping off. and a 4th option that's not 1 of the 3 good options: 4. Put it all back to together and don't tell the dealer that the flywheel wasn't popping off. That's got you a good chance of them, working in good faith, stripping the flywheel, because they don't know that the flywheel is a "tight one". I've run into only a couple flywheels in SV/DL's that just refused to pop off (out of literally 100's), even after 10 hit increments, an "overnight" and a few more hits during the next day. I eventually deferred to option 1 (you don't REALLY have to have an ignition advance, do you?). But I do remember a flywheel that popped off after a couple DAYS of patient "hit and waits!) Now that I've scared you........ the SV type engines are usually OK. Marc |
|
.JPG) |
If you are lucky, the key will be at about 12
o'clock. If not, put the flywheel back on,
the bolt back in lightly impact it in and use a 17mm wrench to turn
the crank to put the keyway slot at 12 o'clock. Then remove the
flywheel again. The IS a mark on the flywheel that you could use to line up so that the keyway is at 12 o'clock before you pull the flywheel, but...... I forgot to take a picture of it before I left the shop. If you can help with that, email me |
.JPG) |
The stock woodruff key may be stuck in the crank
slot. A few light taps will help. Be careful to prevent the key from bouncing down, behind the starter clutch gear and into the nether regions of your dark, unreachable voids of your crankcases.
|
| Woodruff Key Primer A Woodruff key or half-moon key, is a semicircular shaped, removable key that fits into a matching keyway cut into a shaft, leaving a protruding tab. The tab mates with a matching slot on a device mounted flush upon the shaft e.g. a pulley, thus preventing the device from freely rotating about the shaft. It is widely used in machine tools and in the automotive industry. This type of key was developed by W.N. Woodruff of Connecticut, who was presented in 1888 with the John Scott Medal by the Franklin Institute for the invention.[1] from Wikipedia When a woodruff key is used on a tapered shaft fit (like the tapered shaft on the crank and the flywheel), the key is actually only used for lining up the shaft and flywheel before it's tightened and "pressed onto" and locked in place by the "wedging action" of the two "fits". |
|
.JPG) |
On the SV, DL and Hayabusa engines, the Factory
Pro key is a special custom made "offset" type. When key is installed with offset to the LEFT (the same way the engine rotates), you are advancing the ignition timing. (normally, that's how you'd install). One end of the key slips into the crank's slot and the outer part shifts the flywheel over to rotate the flywheel (and the bumps on the perimeter that trigger the ignition pulses) to the left, in direction of engine rotation, to advance the ignition timing. You "could" install the key with the offset to the right to retard the timing, should you need to do that for nitrous or turbo apps. |
|
|
Reassembly: Make sure idler gear shaft is properly in place. Line up flywheel with key and jiggle till the flywheel engages properly with the starter clutch behind. Replace 17mm flywheel bolt, 87 ft/lbs is the book specified torque (some mechanics with good feel use an impact wrench). Replace the cover. Reinstall the cover bolts. 5-7ft/lbs is the torque. If you drained or lost any oil, CHECK AND REFILL THE OIL before starting!!!! |